Happy Halloween! I love this time of year. The leaves are turning, the temperature is cooling and I get to start obsessing about Harry Potter.
A few years ago I decided I wanted a theme for my Halloween decorations, rather than a bunch of cute and scary, mismatched decorations, and with that my Harry Potter Halloween was born. The first year I started with just a few basic items and each year I add to it. There are a few things that I know I could buy (probably for cheaper) but there’s something about making it myself that makes me so happy. Most of the things I have made are from tutorials or are my own creation after watching how dozens of other people have made the item.
I know these won’t be book review posts but they are related to books so I thought I’d share them with you.
So, today let me show you my Mandrake. I have several photos of the process but I wasn’t thinking about posting them when I took them, so it’s not a step-by-step.
I hope you enjoy!
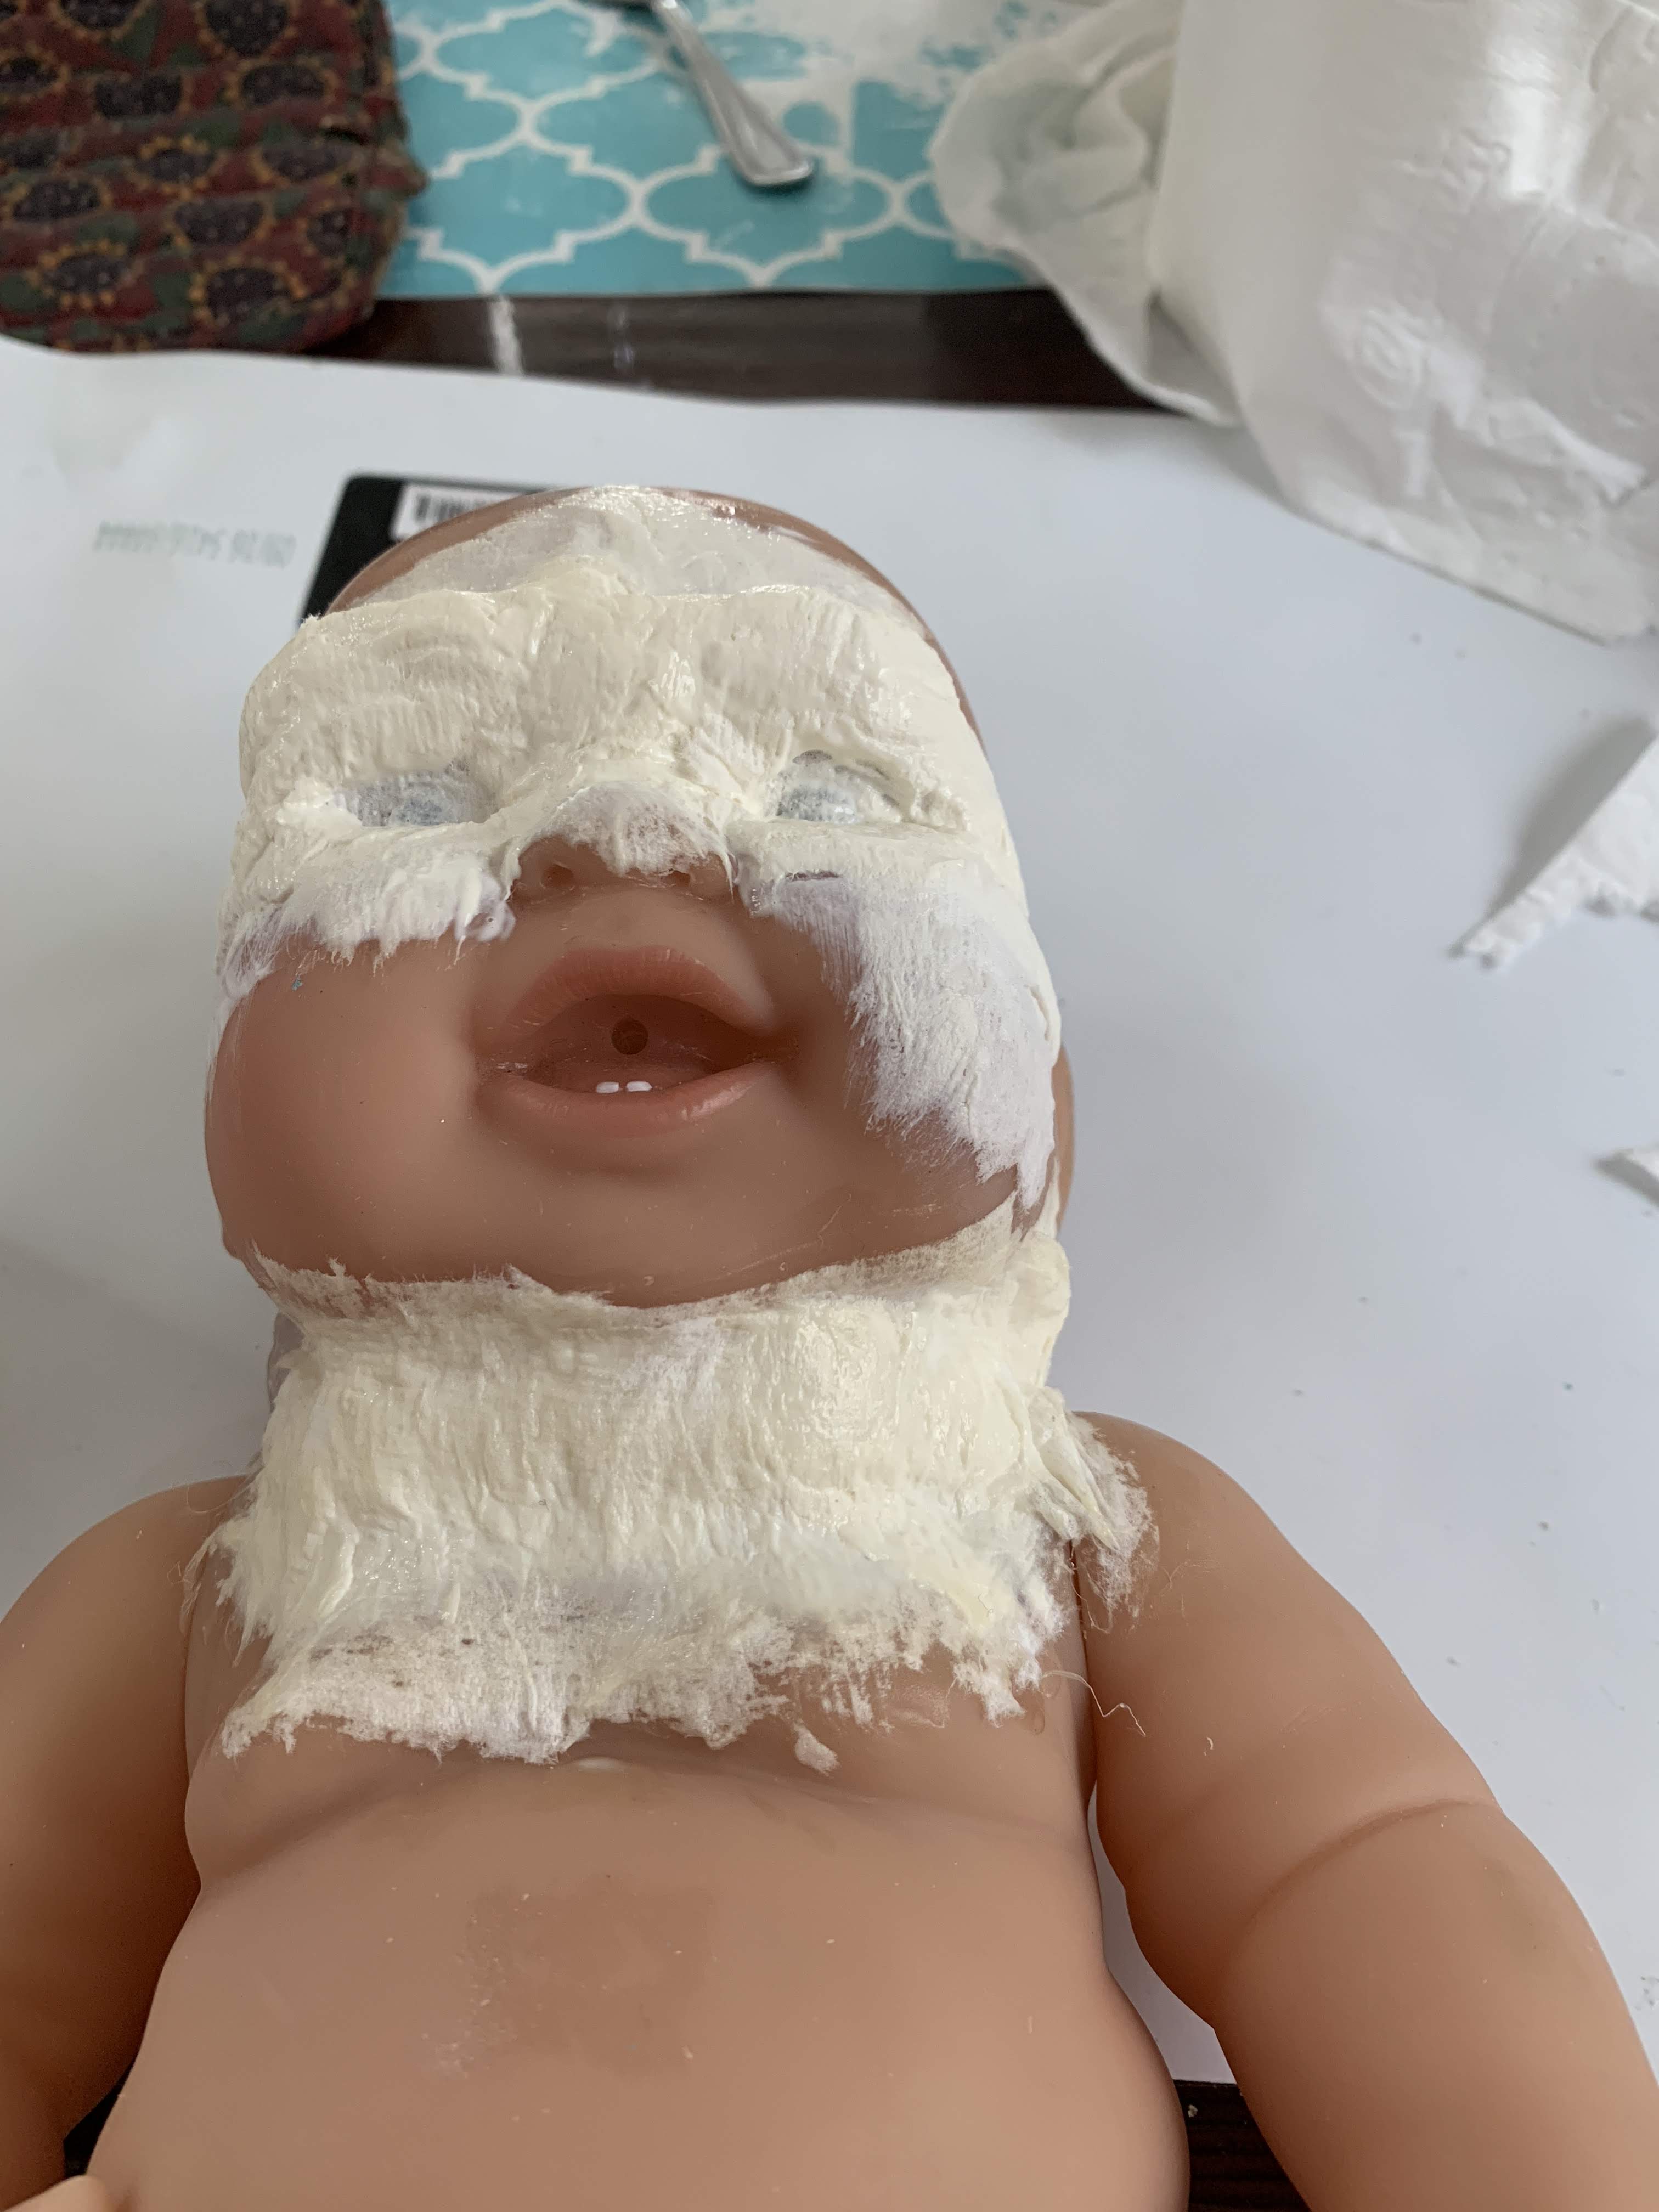
1) I started with a cute doll from the local thrift store and covered it in toilet tissue and liquid latex, using a paintbrush. I learned quickly that any untorn edges would be noticeable so I tore all the edges of the tissue and then tore each square into quarters. To fill in the neck, I used cotton that I then covered in the tissue and latex.
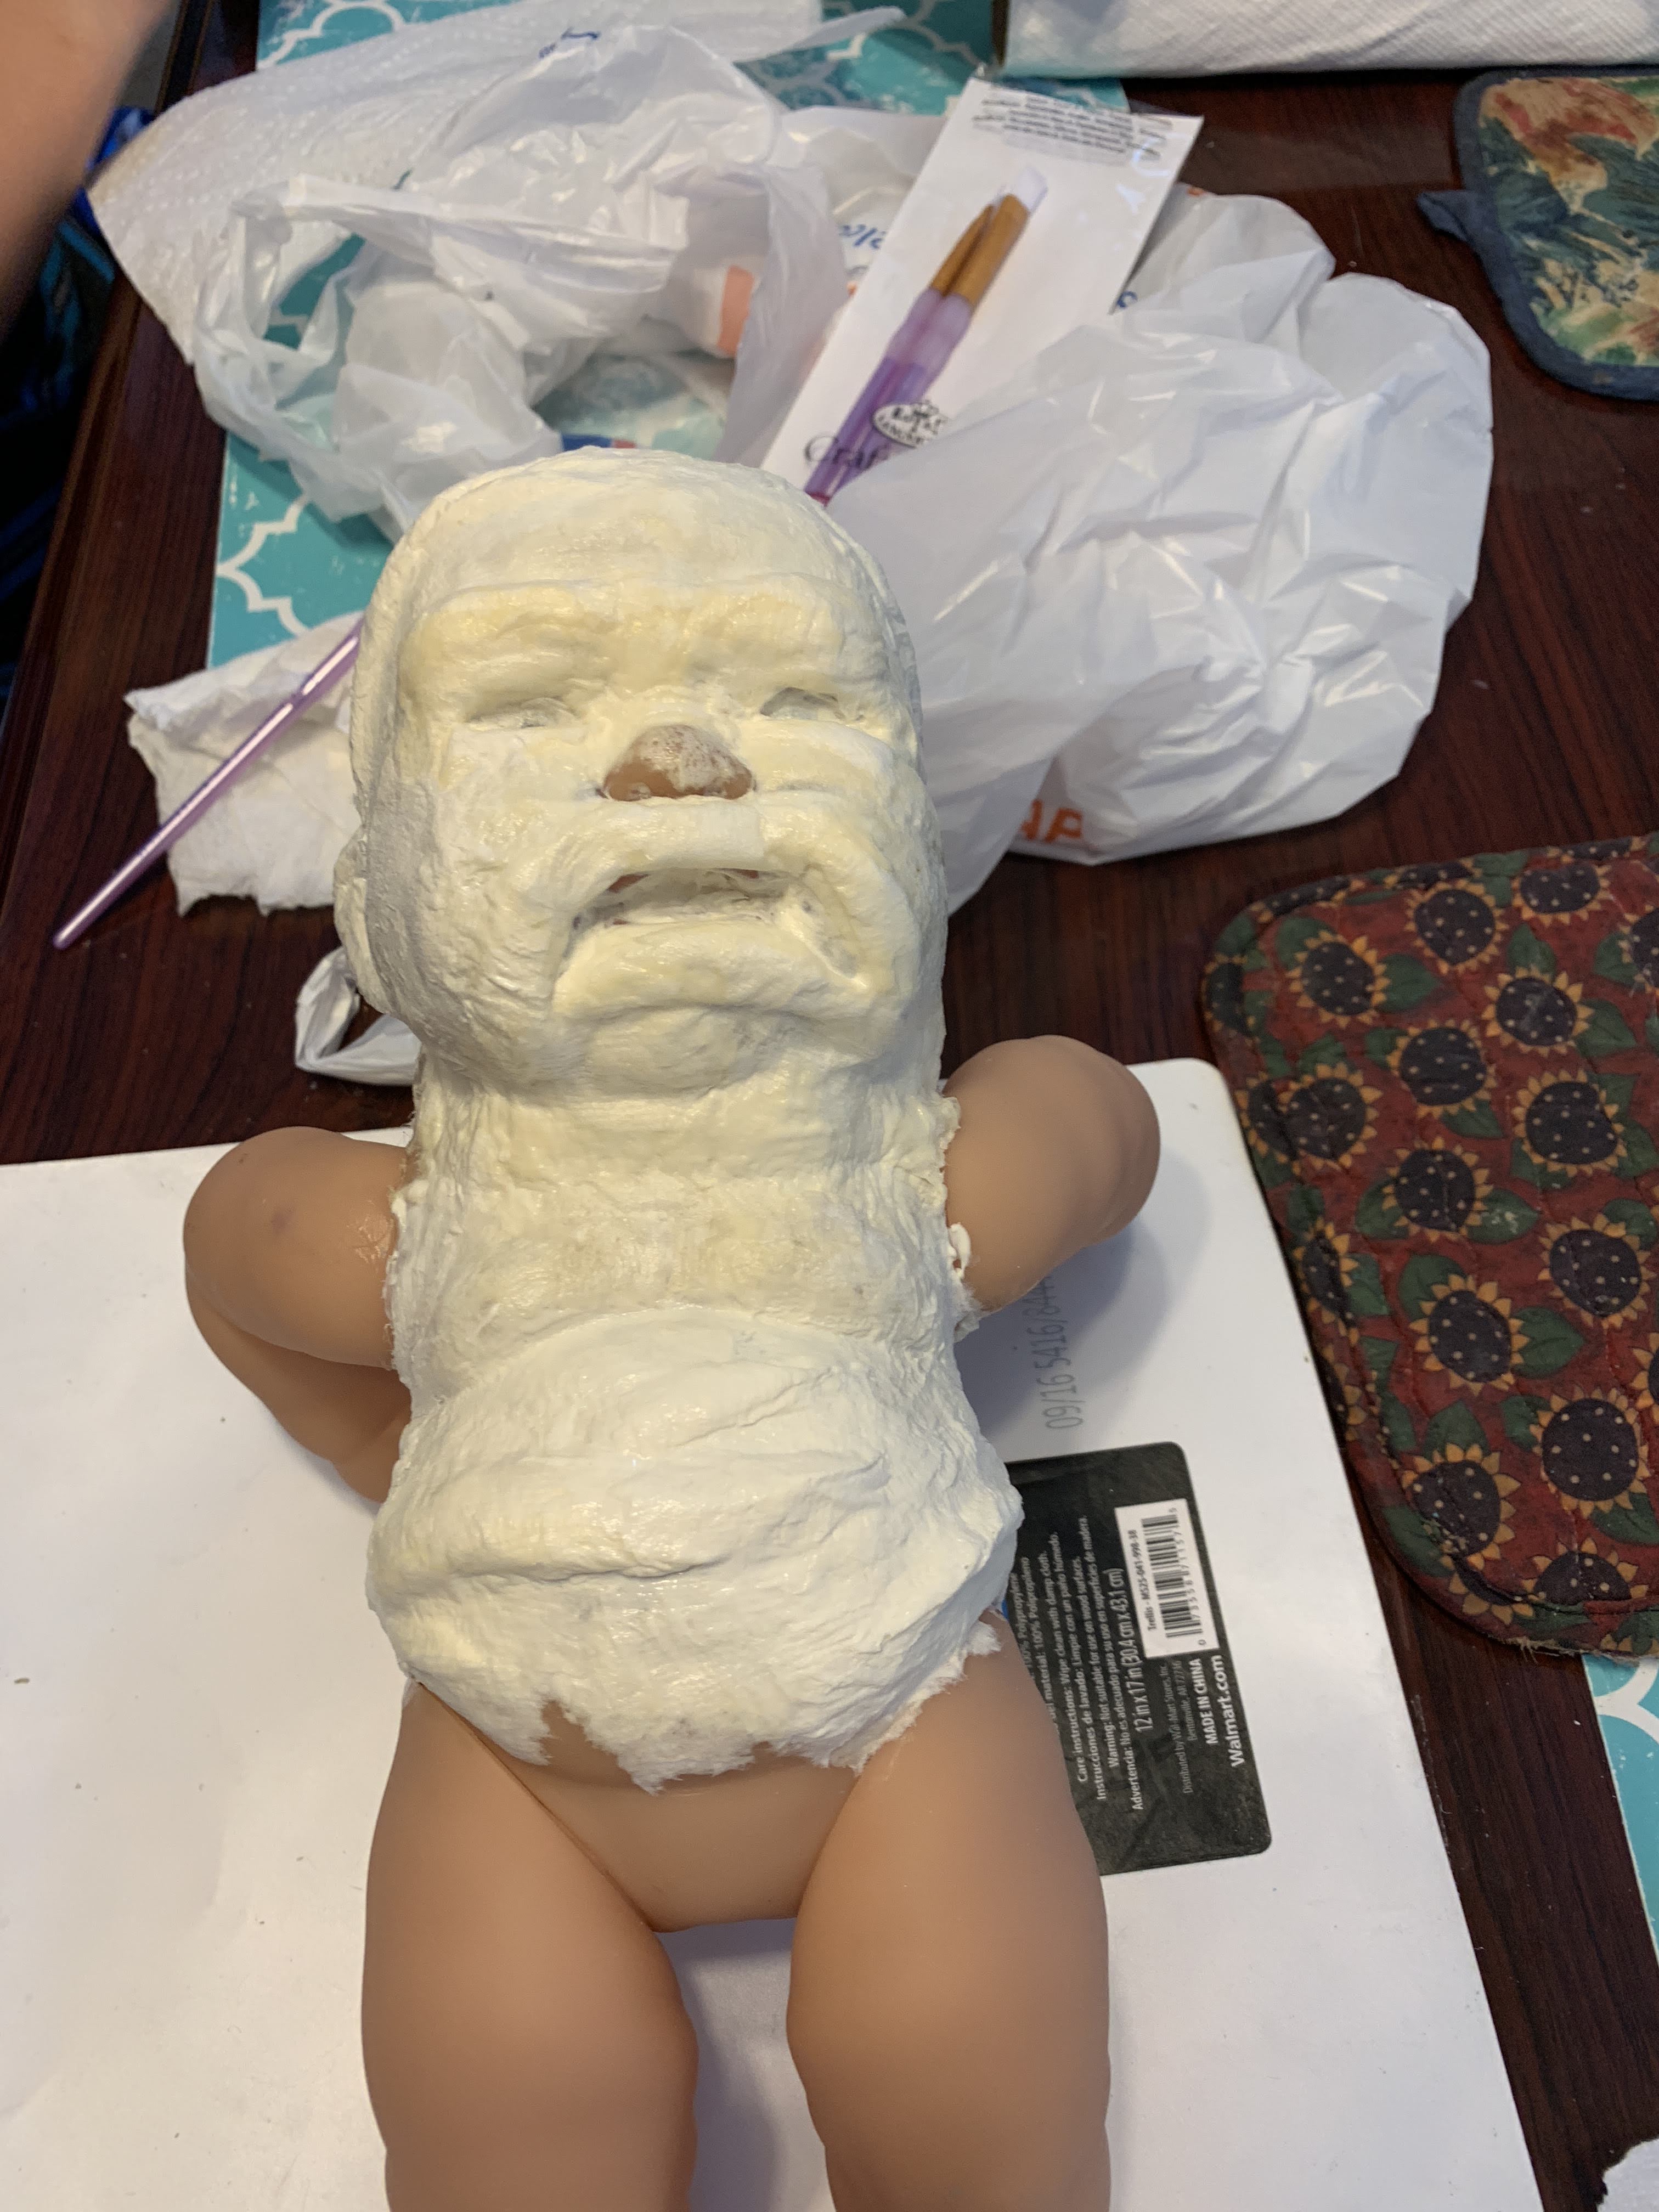
2) I then began to build the Mandrakes face using rolled up pieces of tissue. Once I had the shape I wanted, I applied a layer of flat tissue to hide any seams. I also added bumps to represent vines growing around the mandrake.
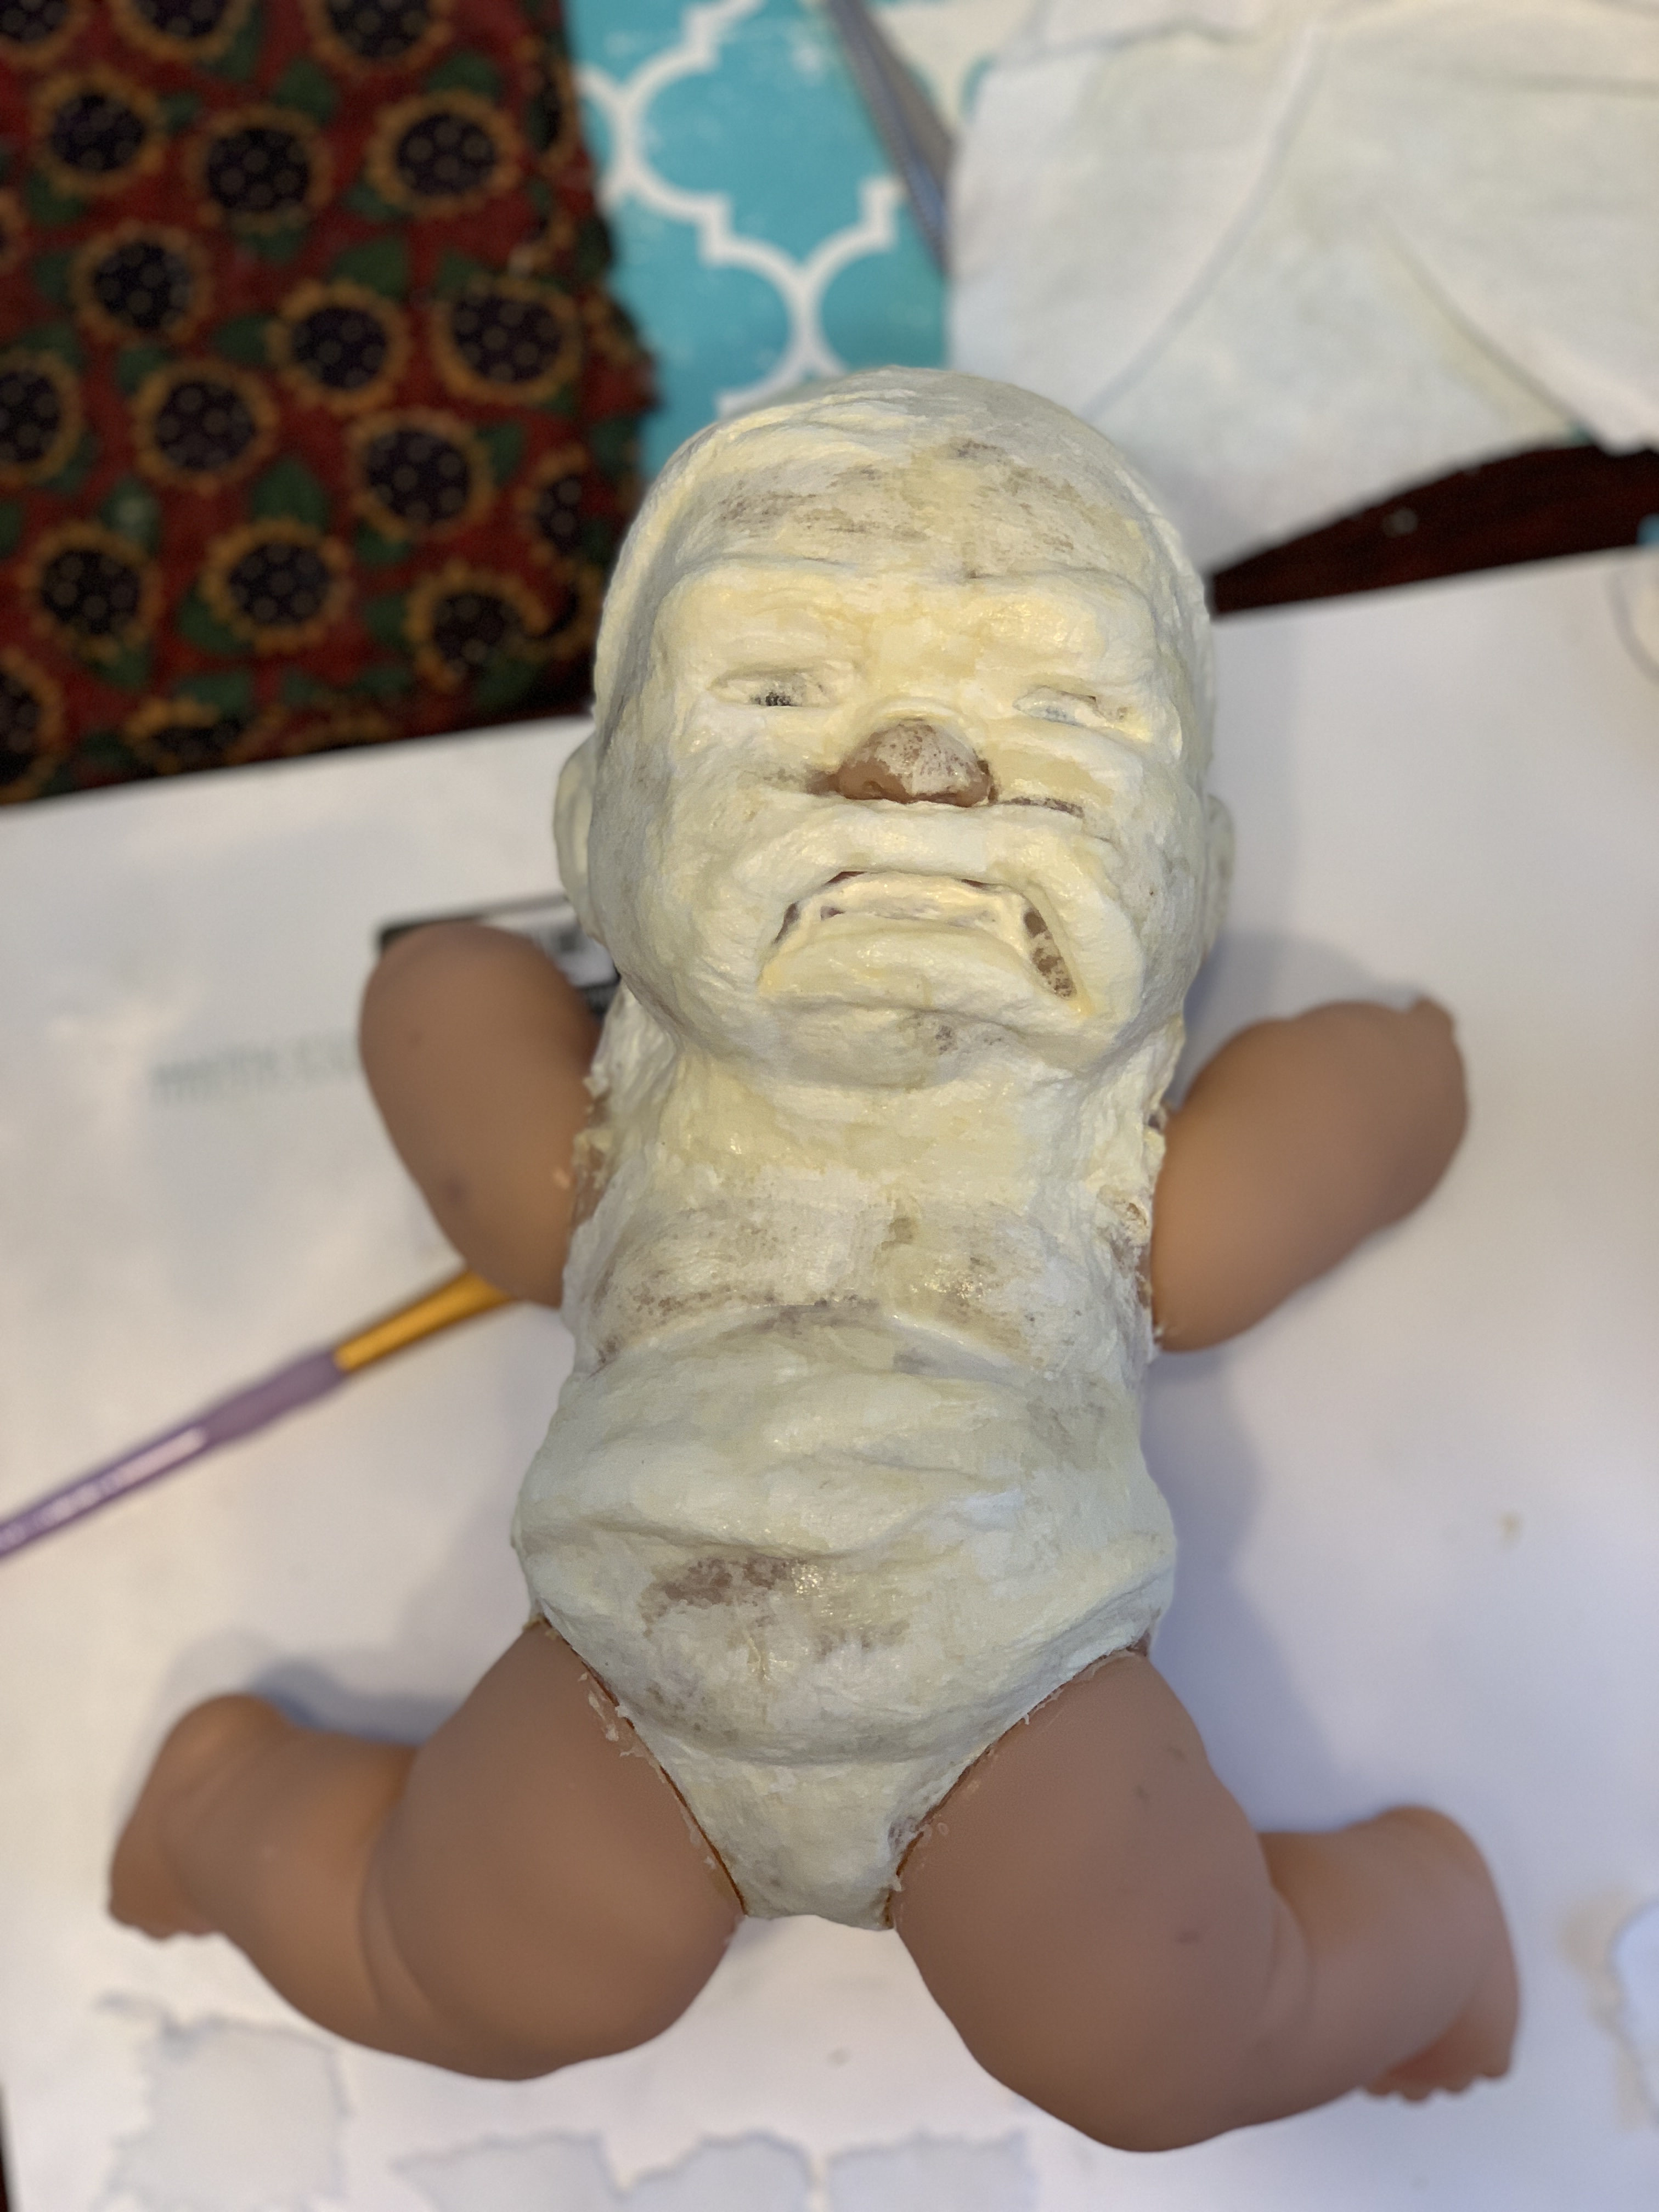
3) As creepy as this is, the arms and legs made a great stand to keep the wet latex off the table while it dried.
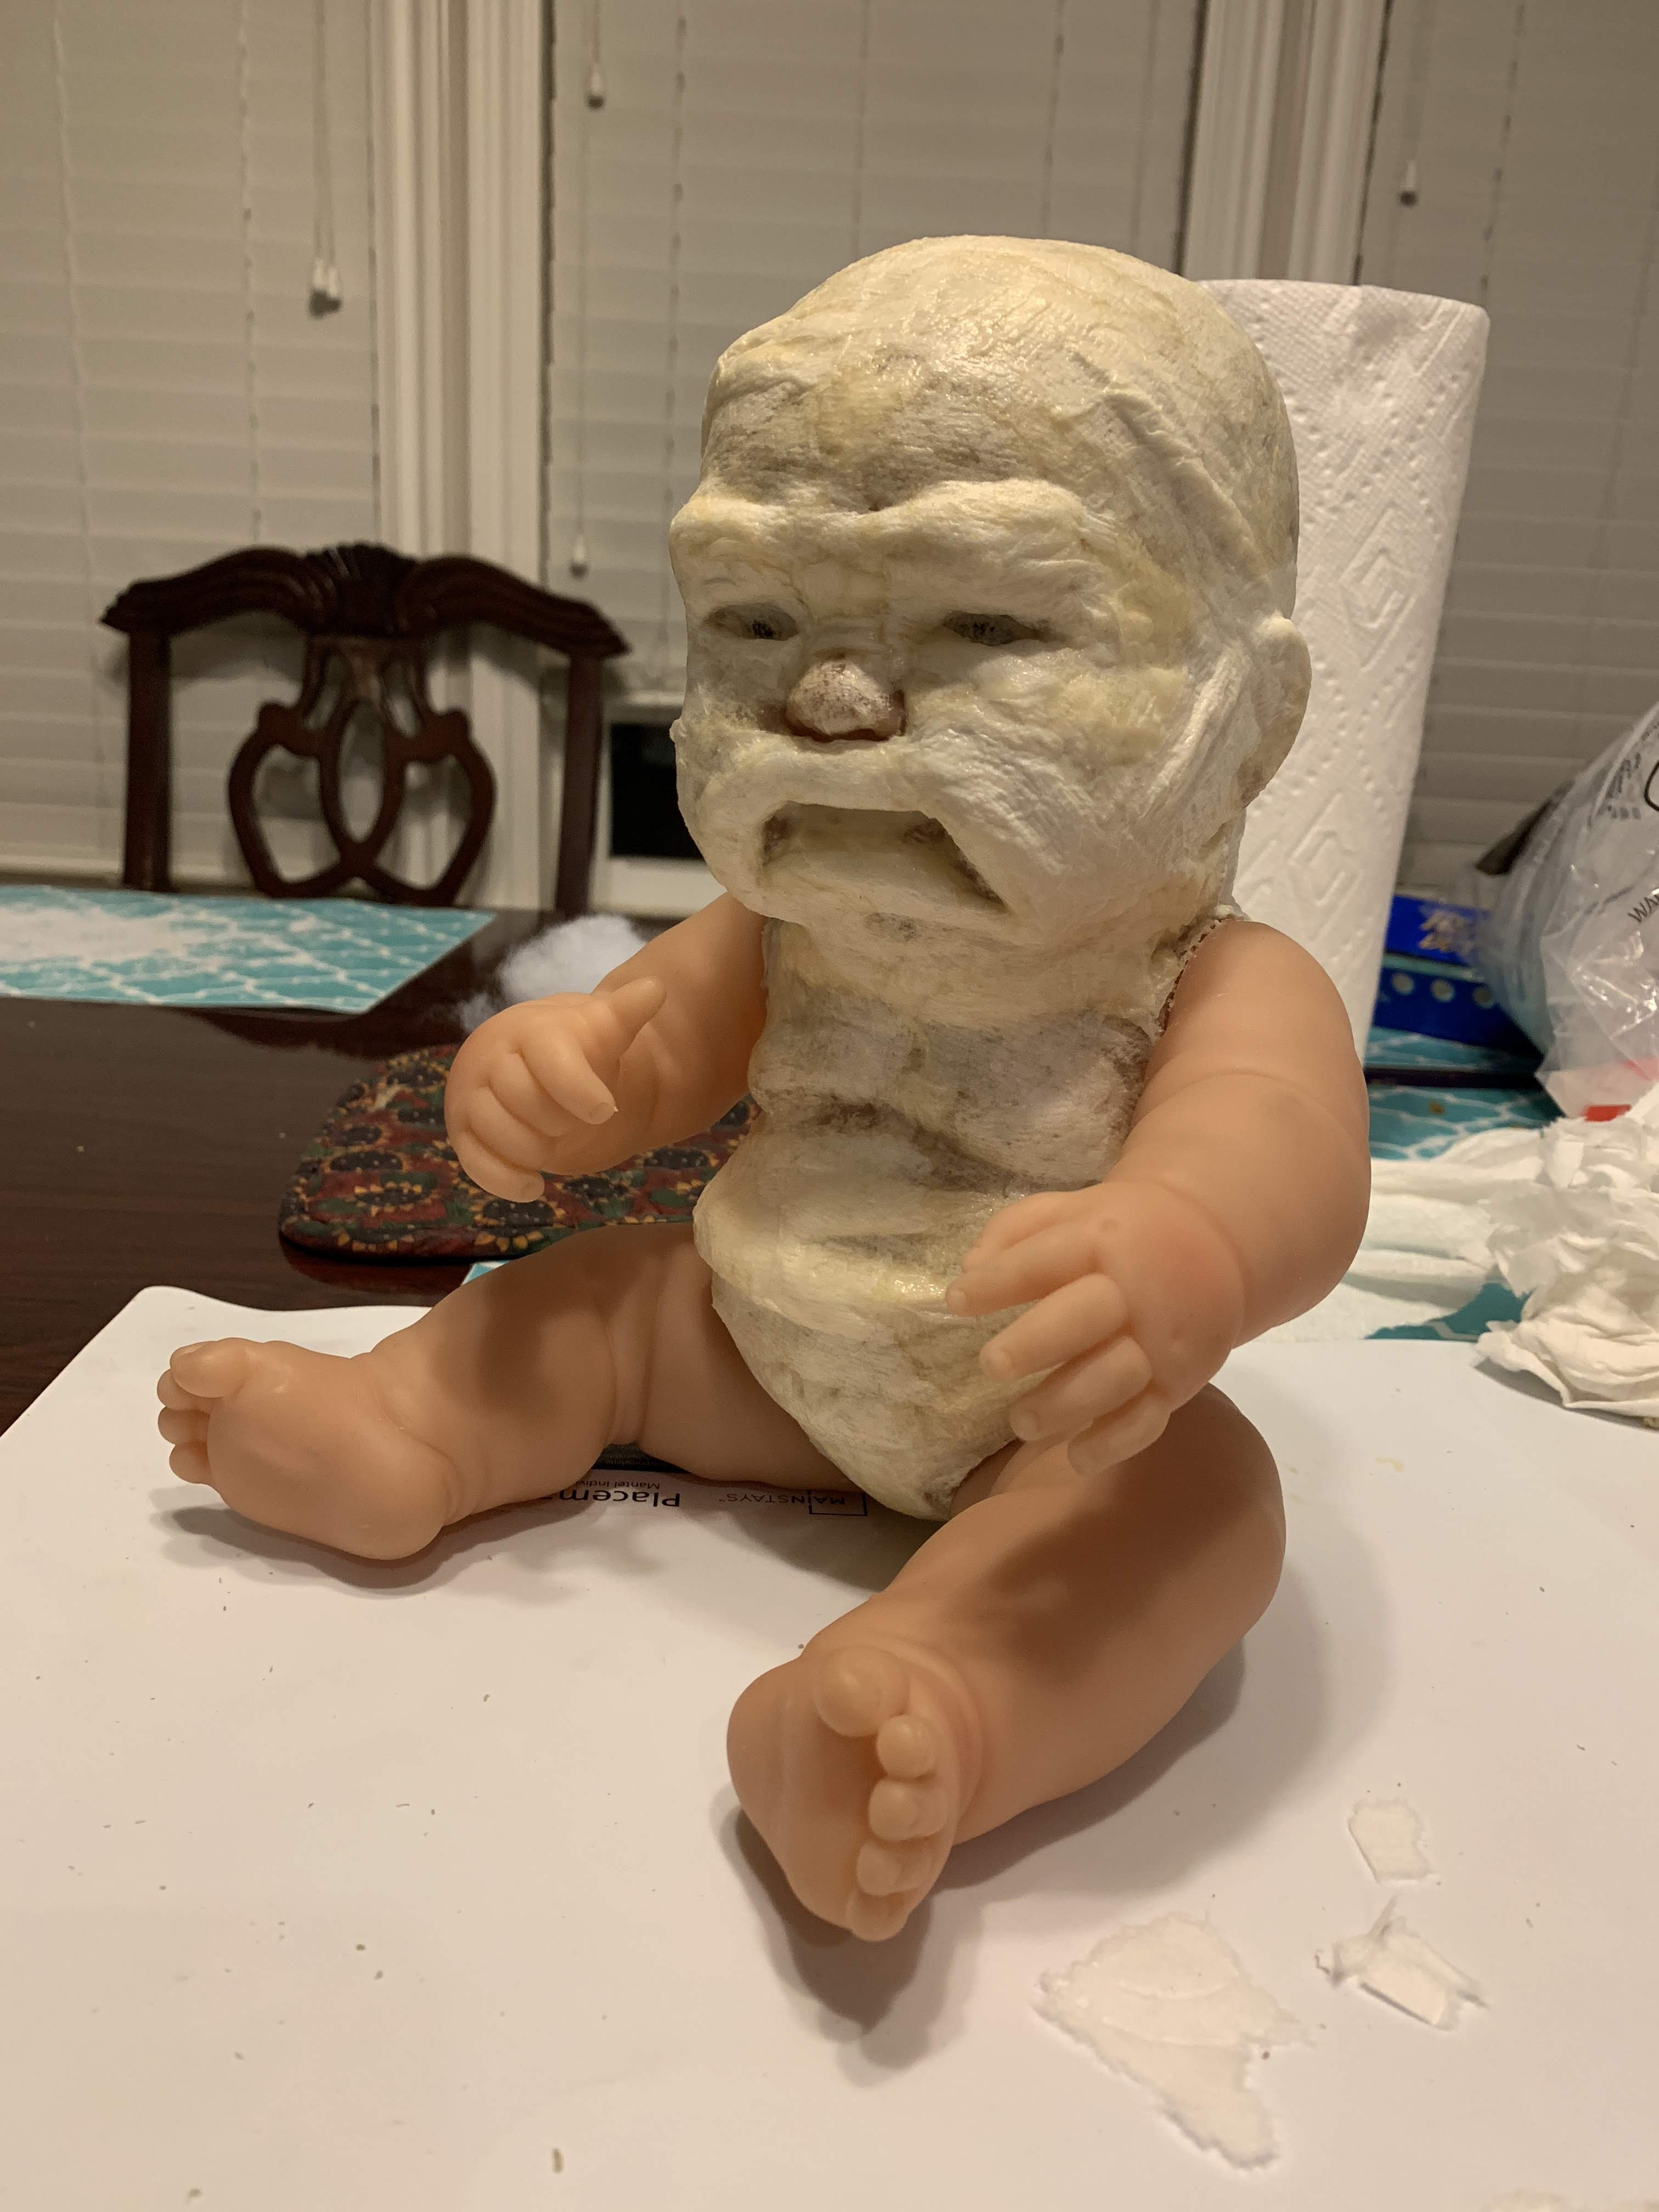
4) Looking from the side, you can see that I’ve removed a lot of the definition of the ear and added vines on the side of the head.
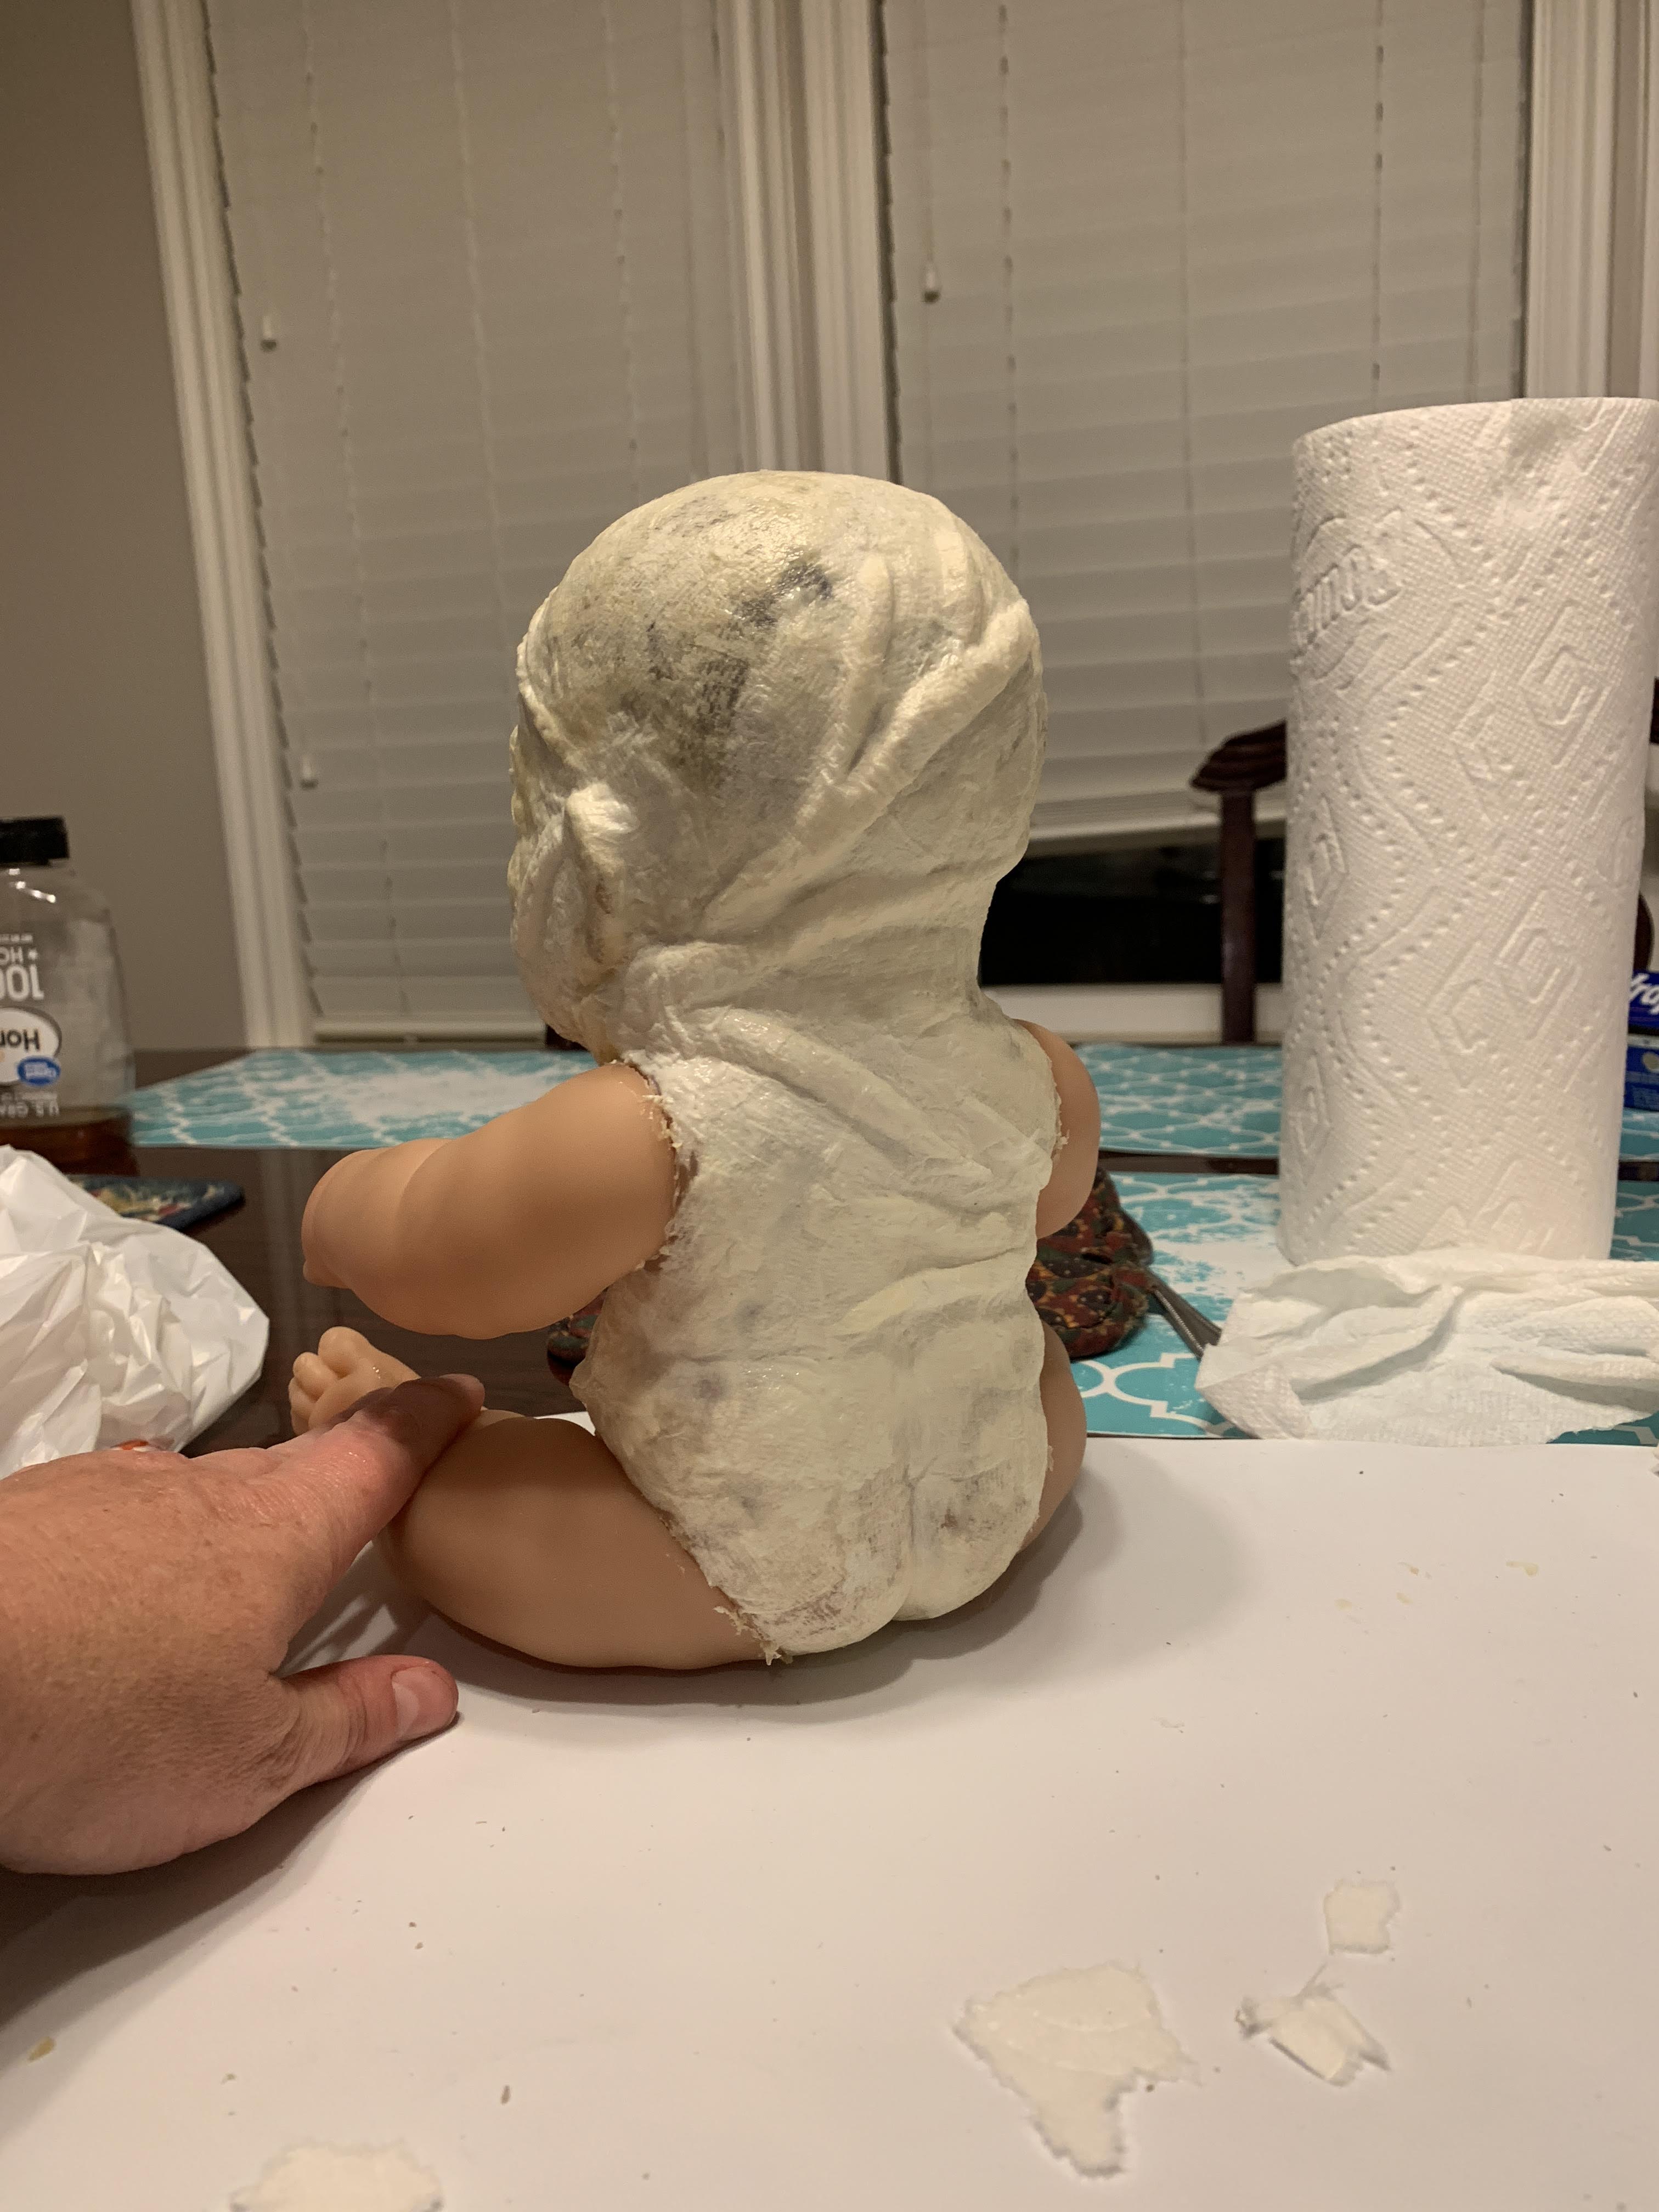
5) The view from the back shows even more vines.
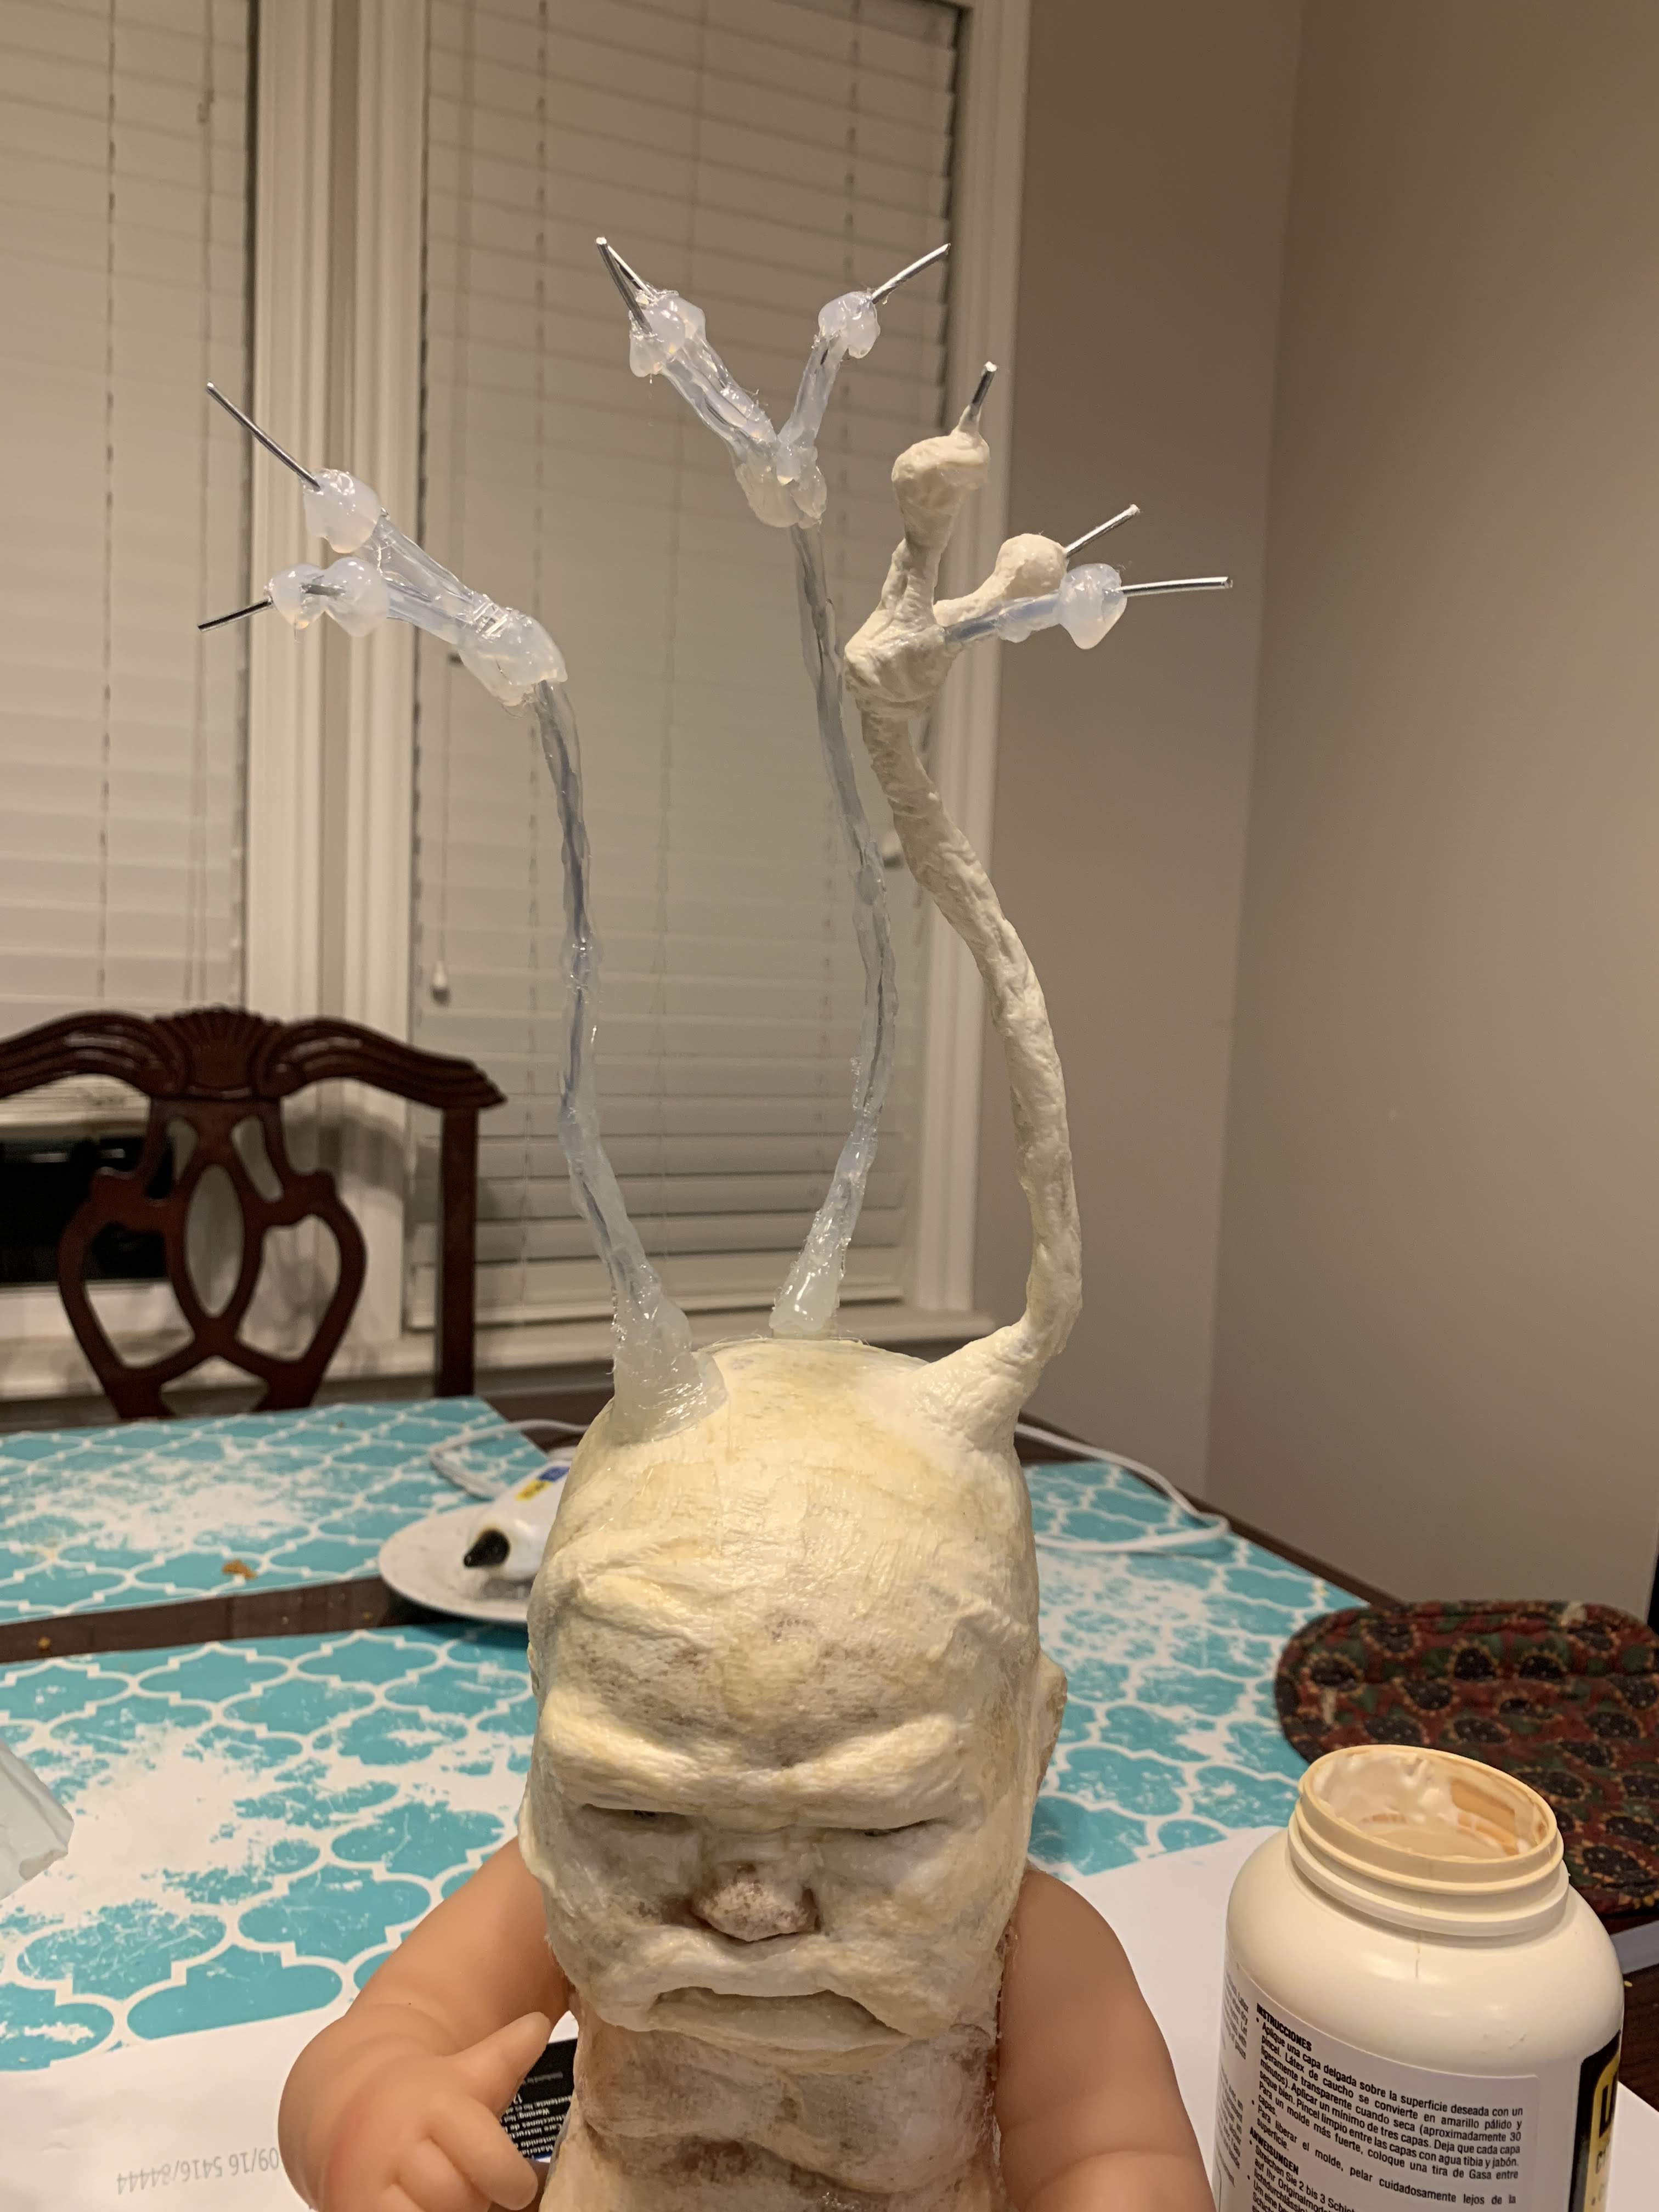
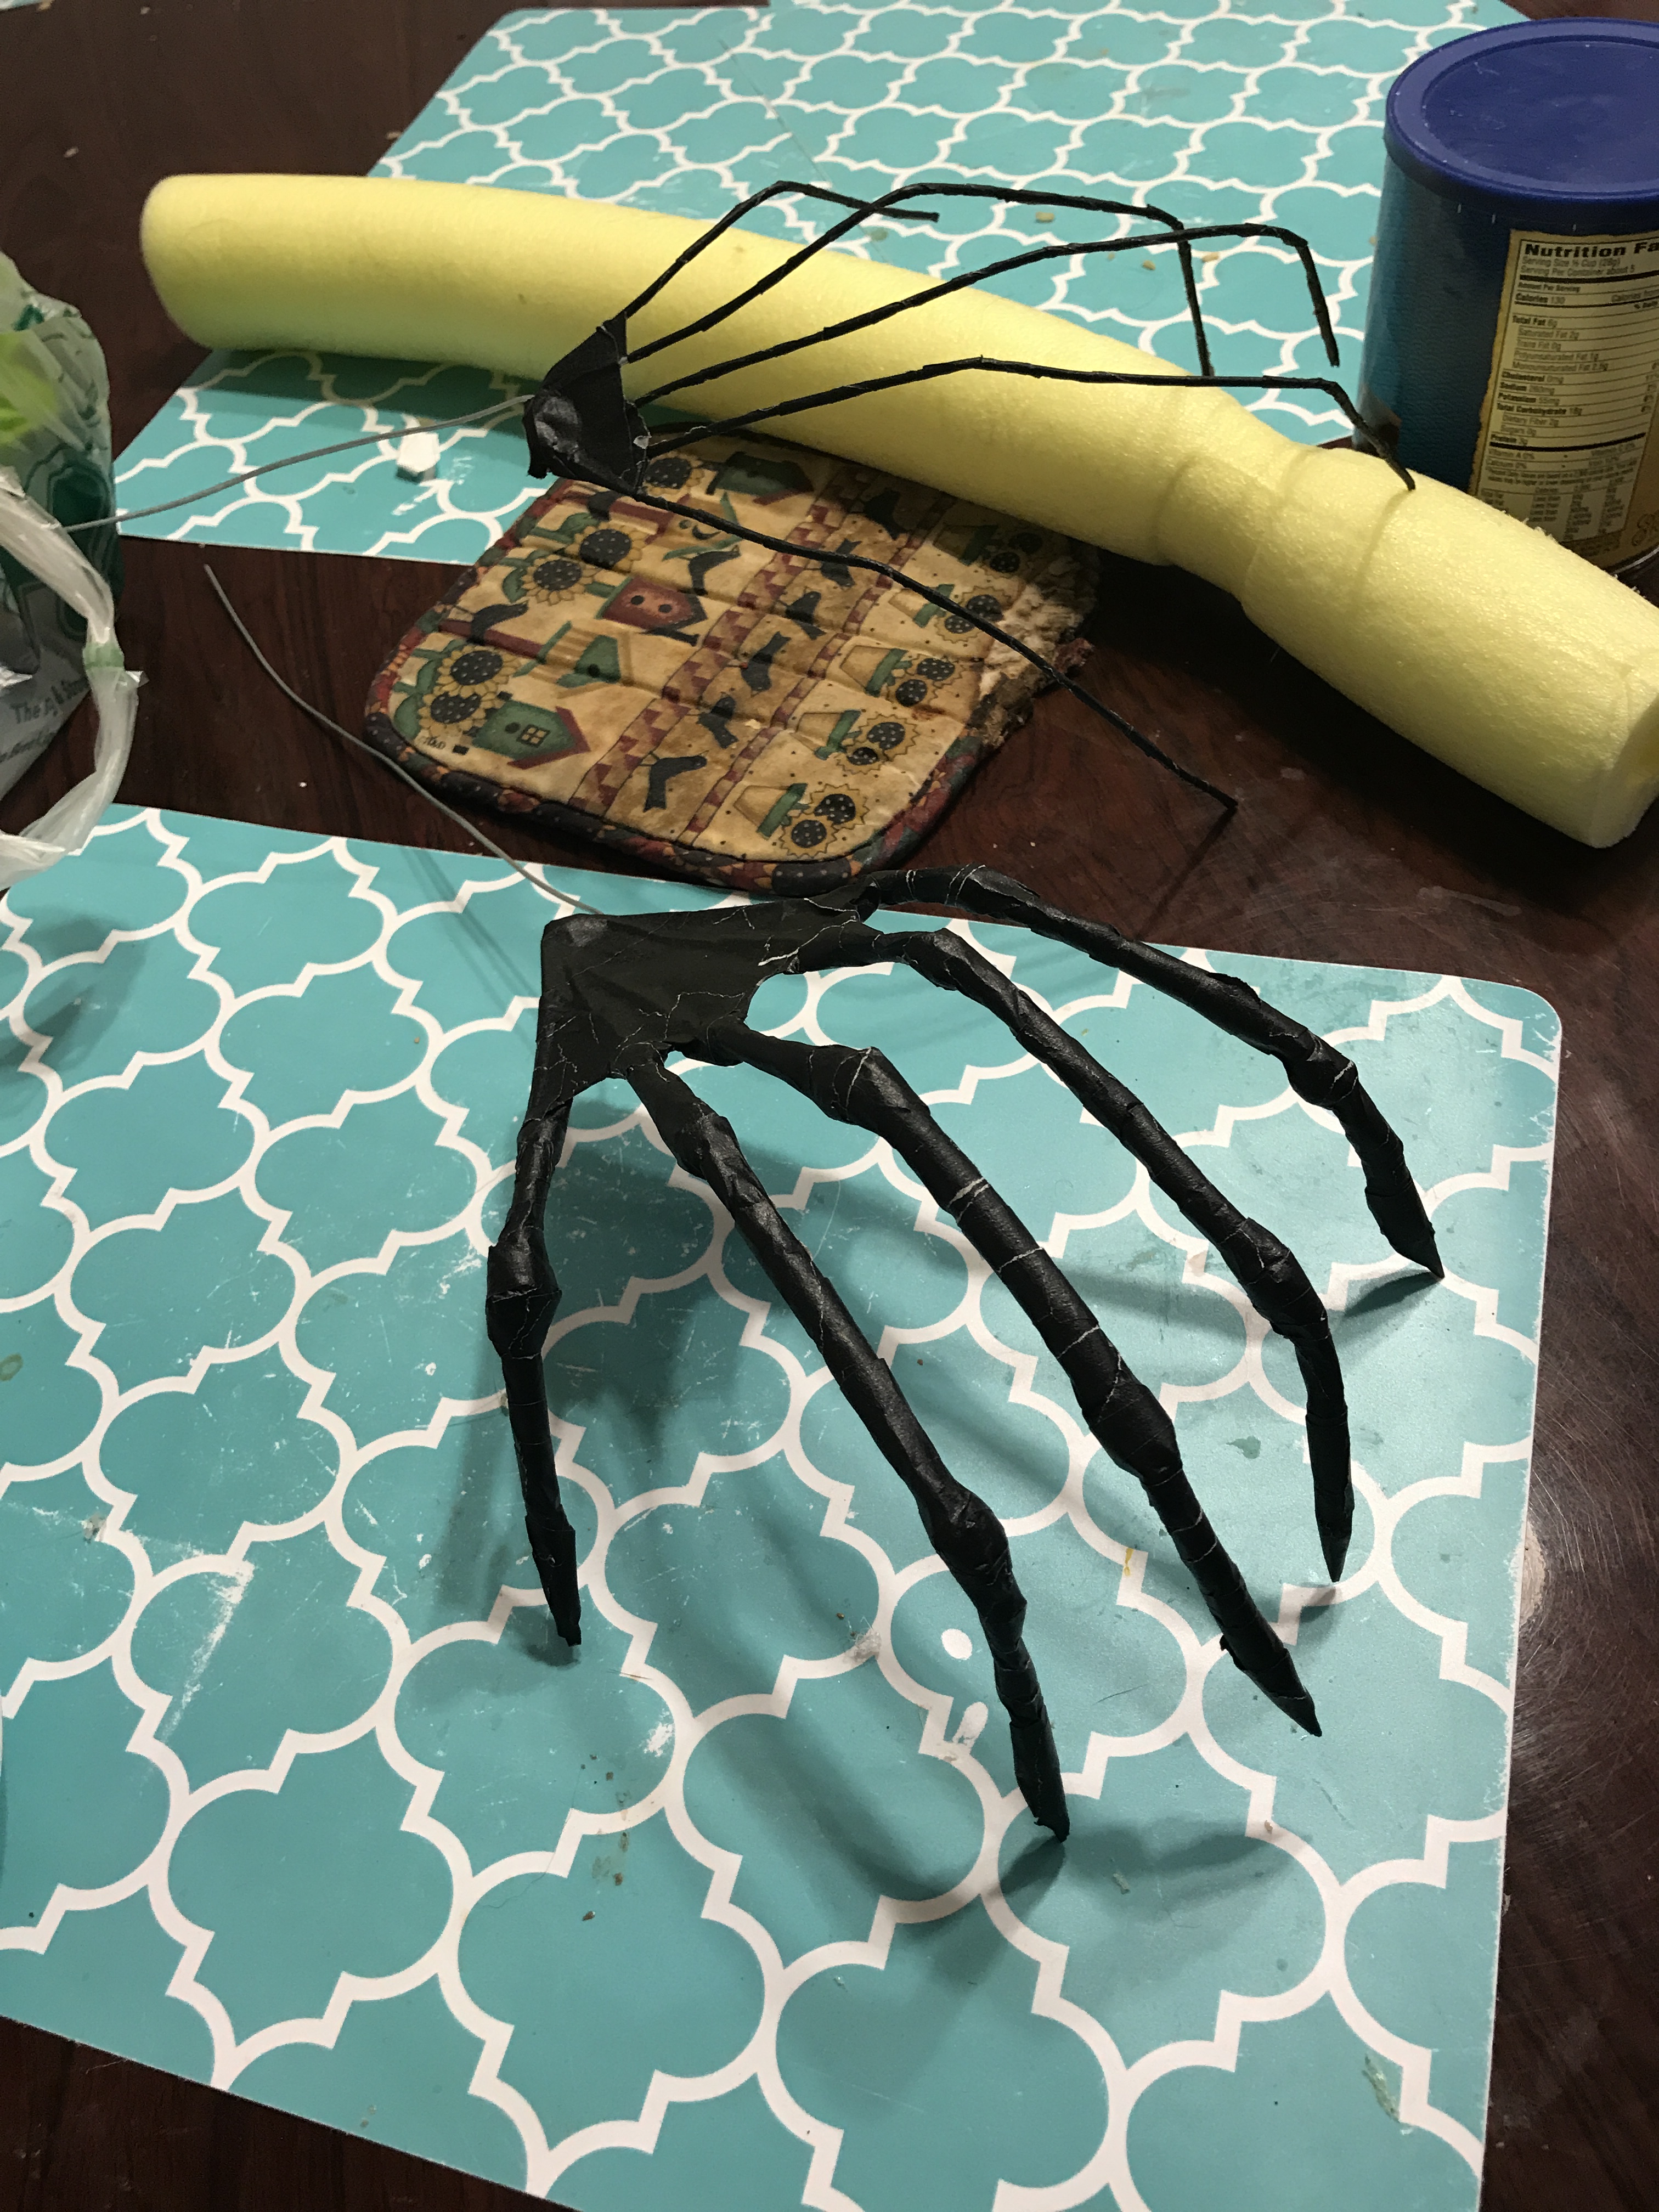
6) After the latex had dried, I stabbed 3 holes into the doll’s head and inserted thick wires. I don’t remember the gage but as you can see, it was thick. I used hot glue to secure the wire to the head and then I coated the whole wire in hot glue to create the shape and thickness of the stems. I decided that I liked having a ball shape where the leaves will connect to the stems. After finishing with the hot glue, I covered everything with tissue and latex so that the paint would stick and the stems would have the same texture as the rest of the Mandrake.
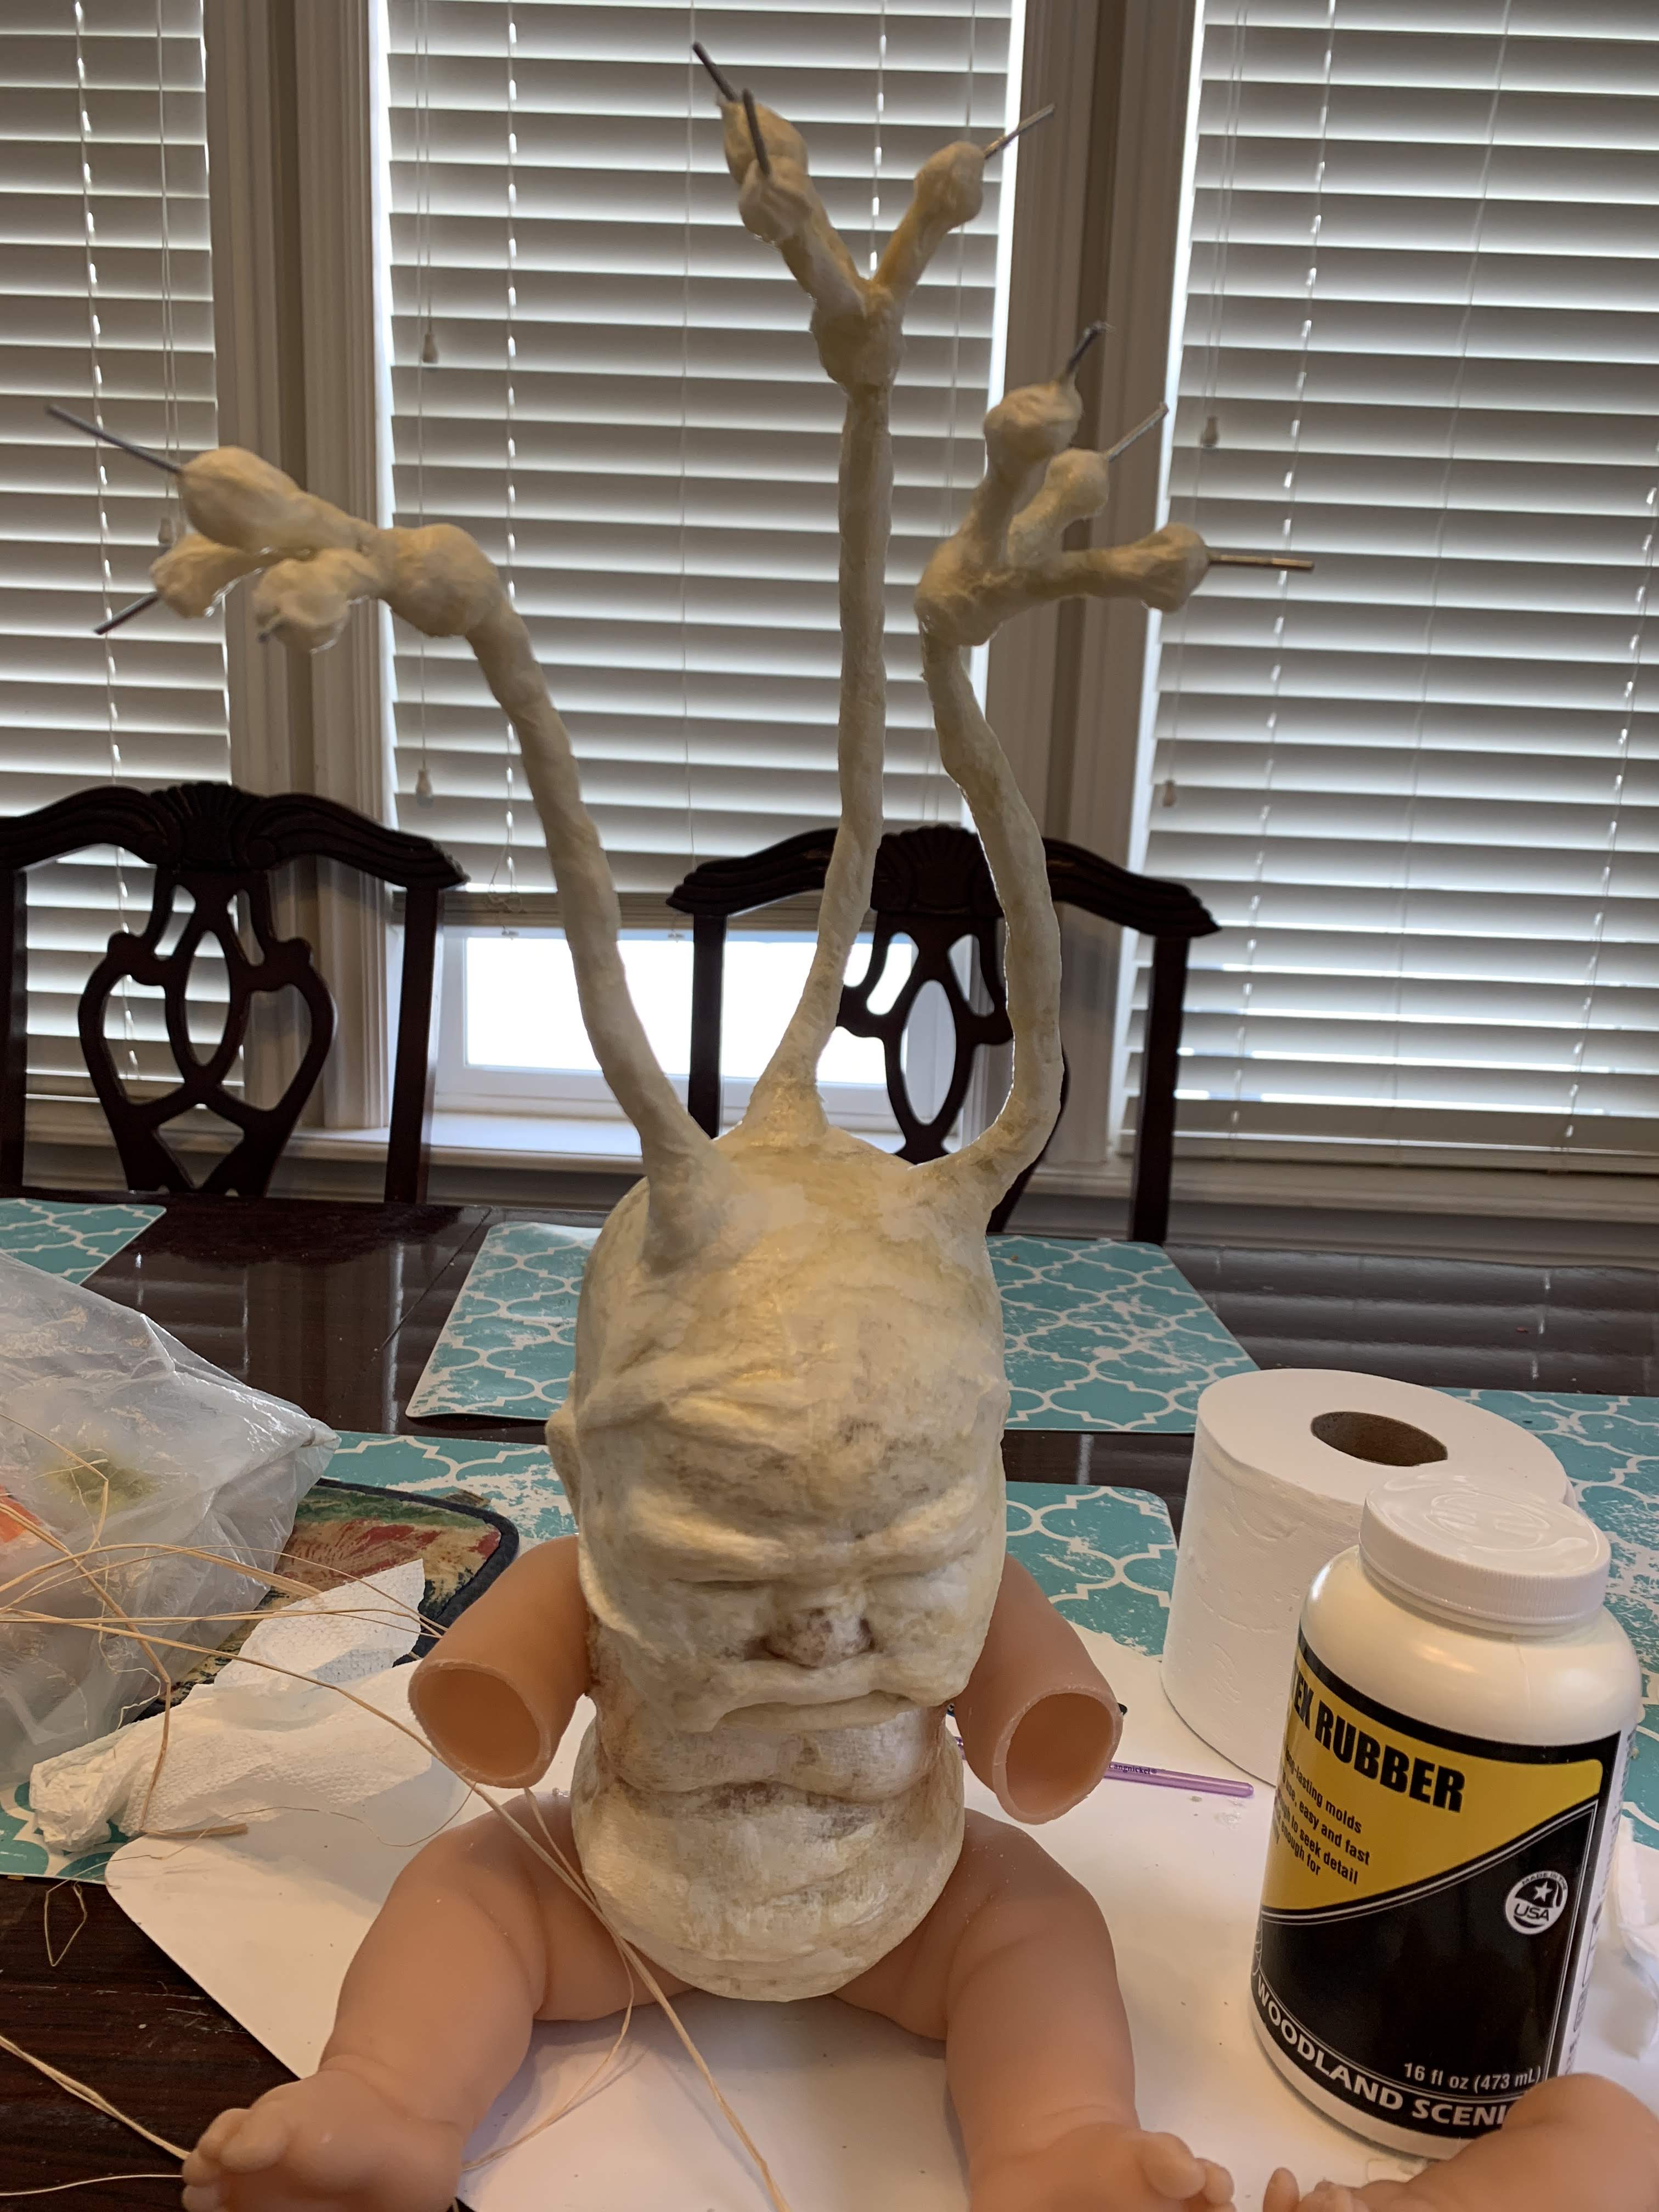
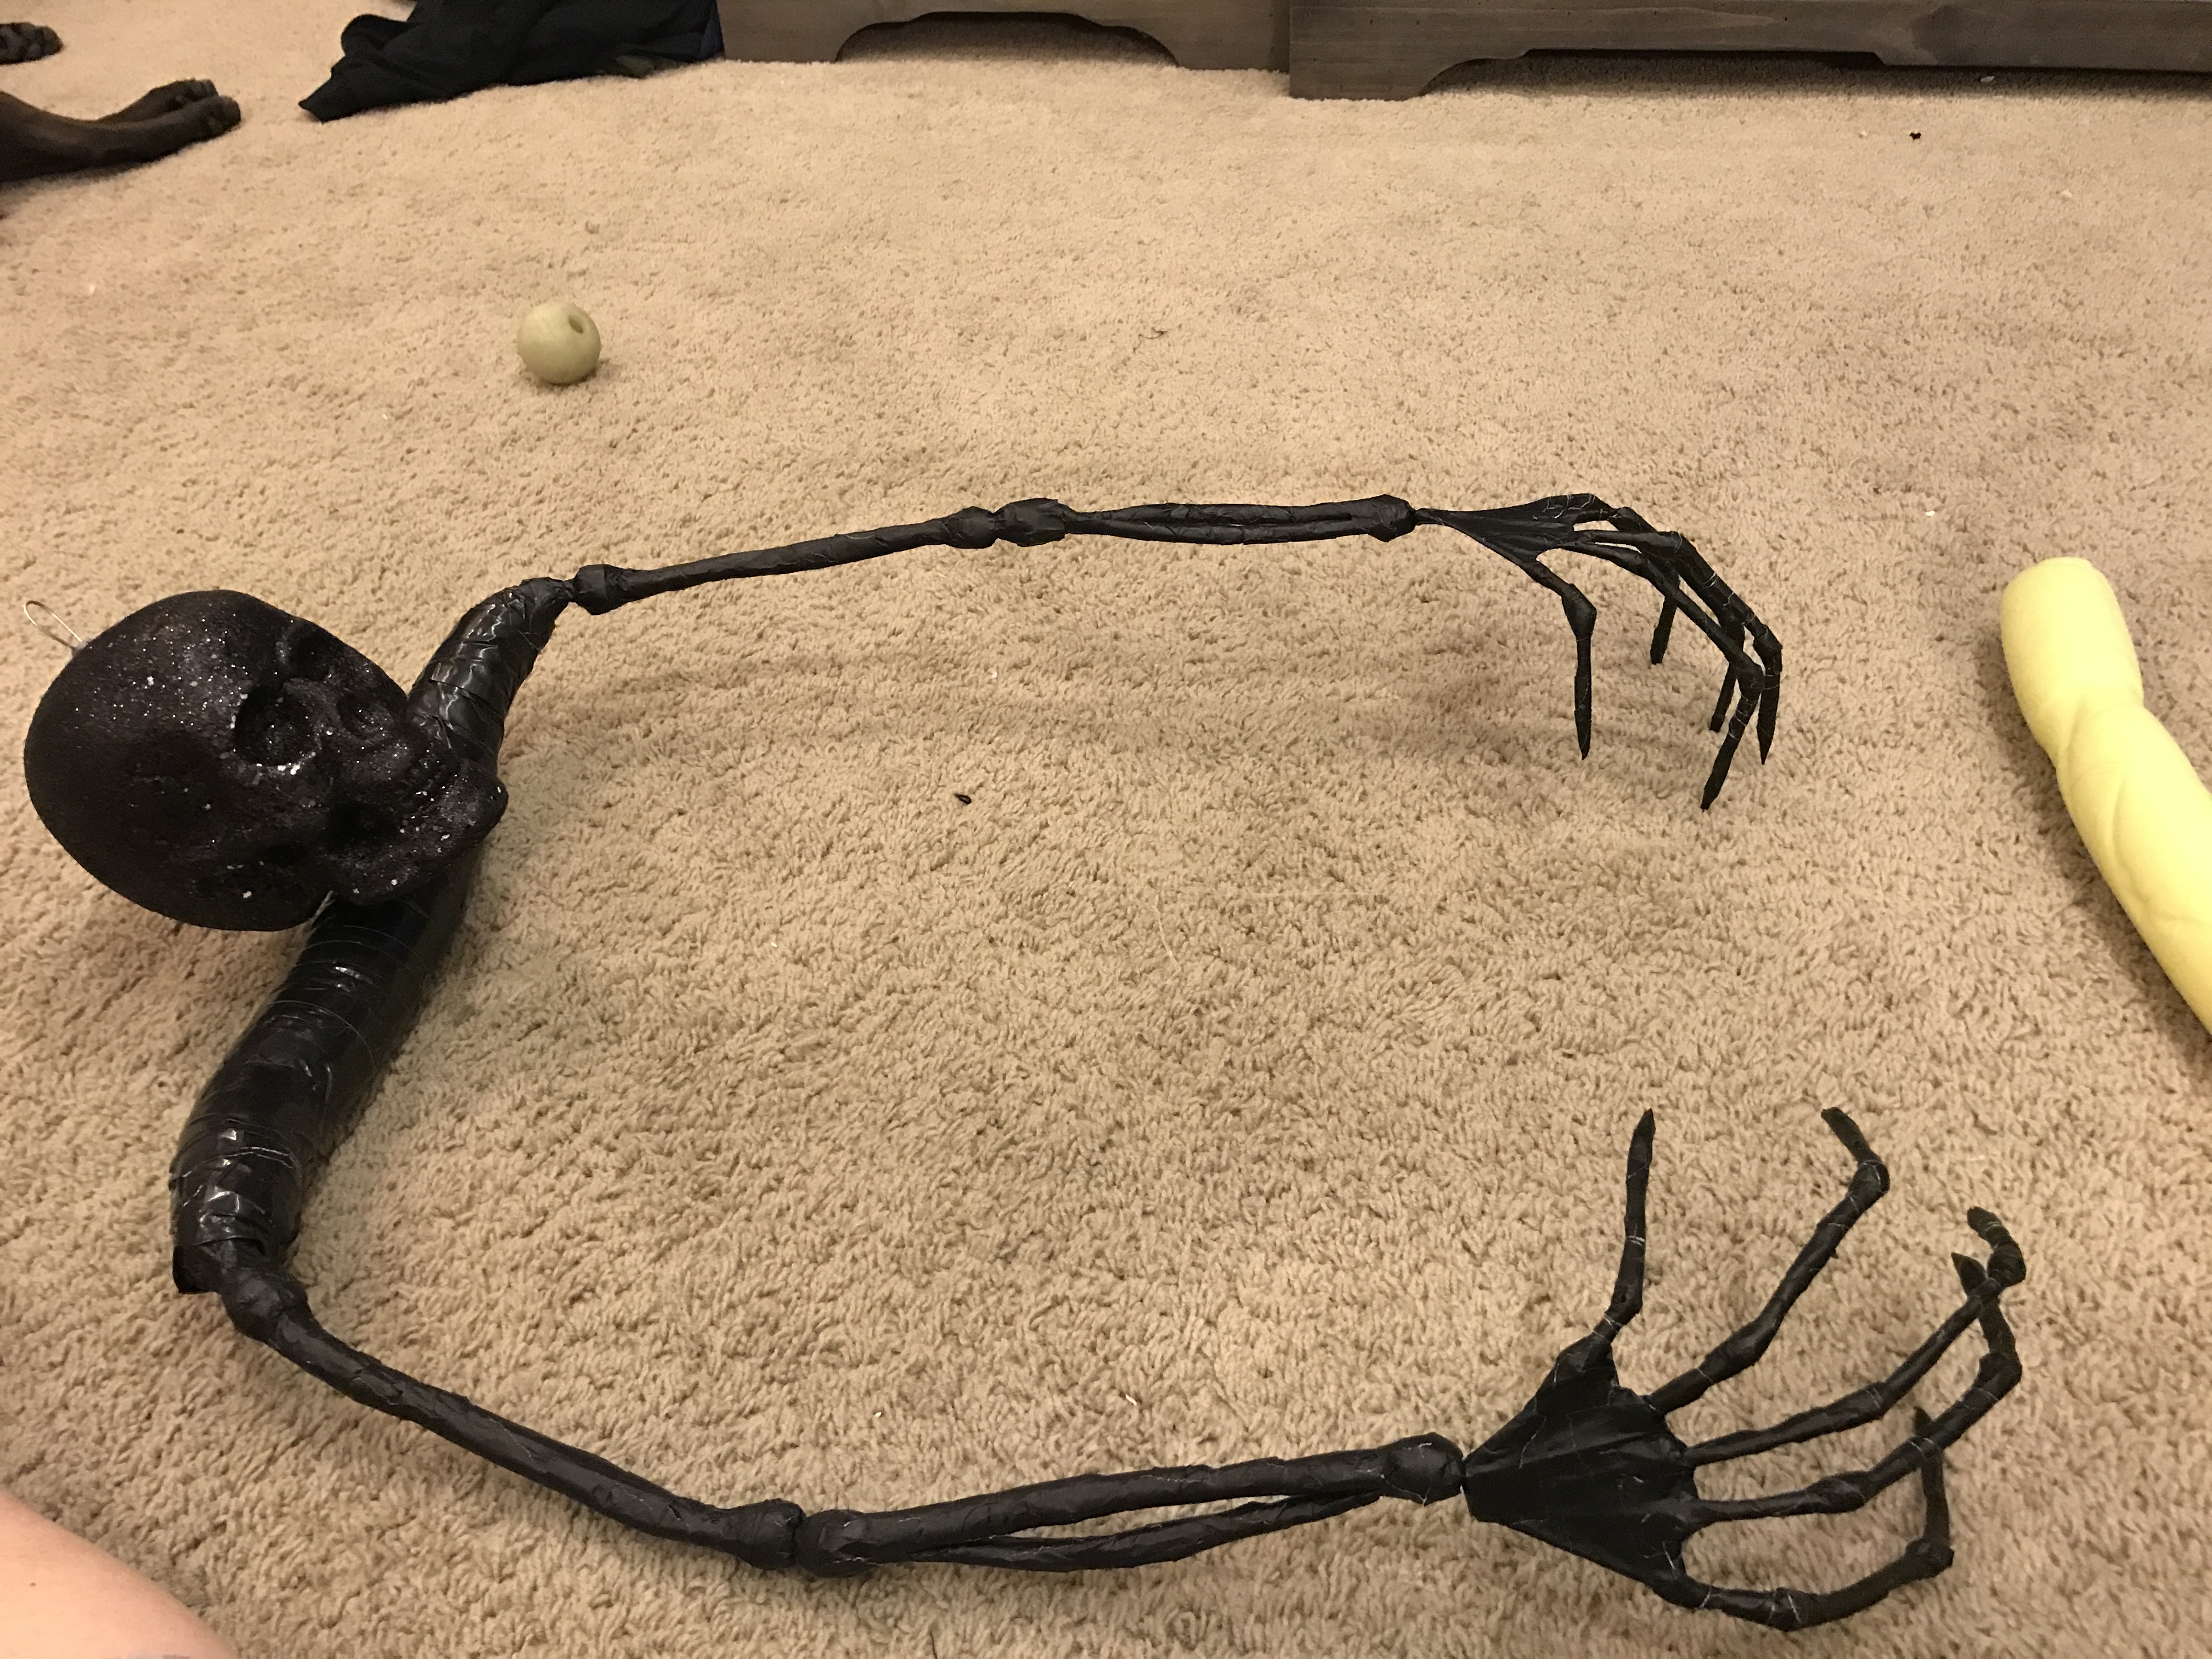
7) Once the stems were dry it was time to start the arms. The legs will be planted so I didn’t need to worry about them. For this, I just cut the arms off at the elbow. I wanted to leave the upper arm so that I would have some supports to build the roots off of.
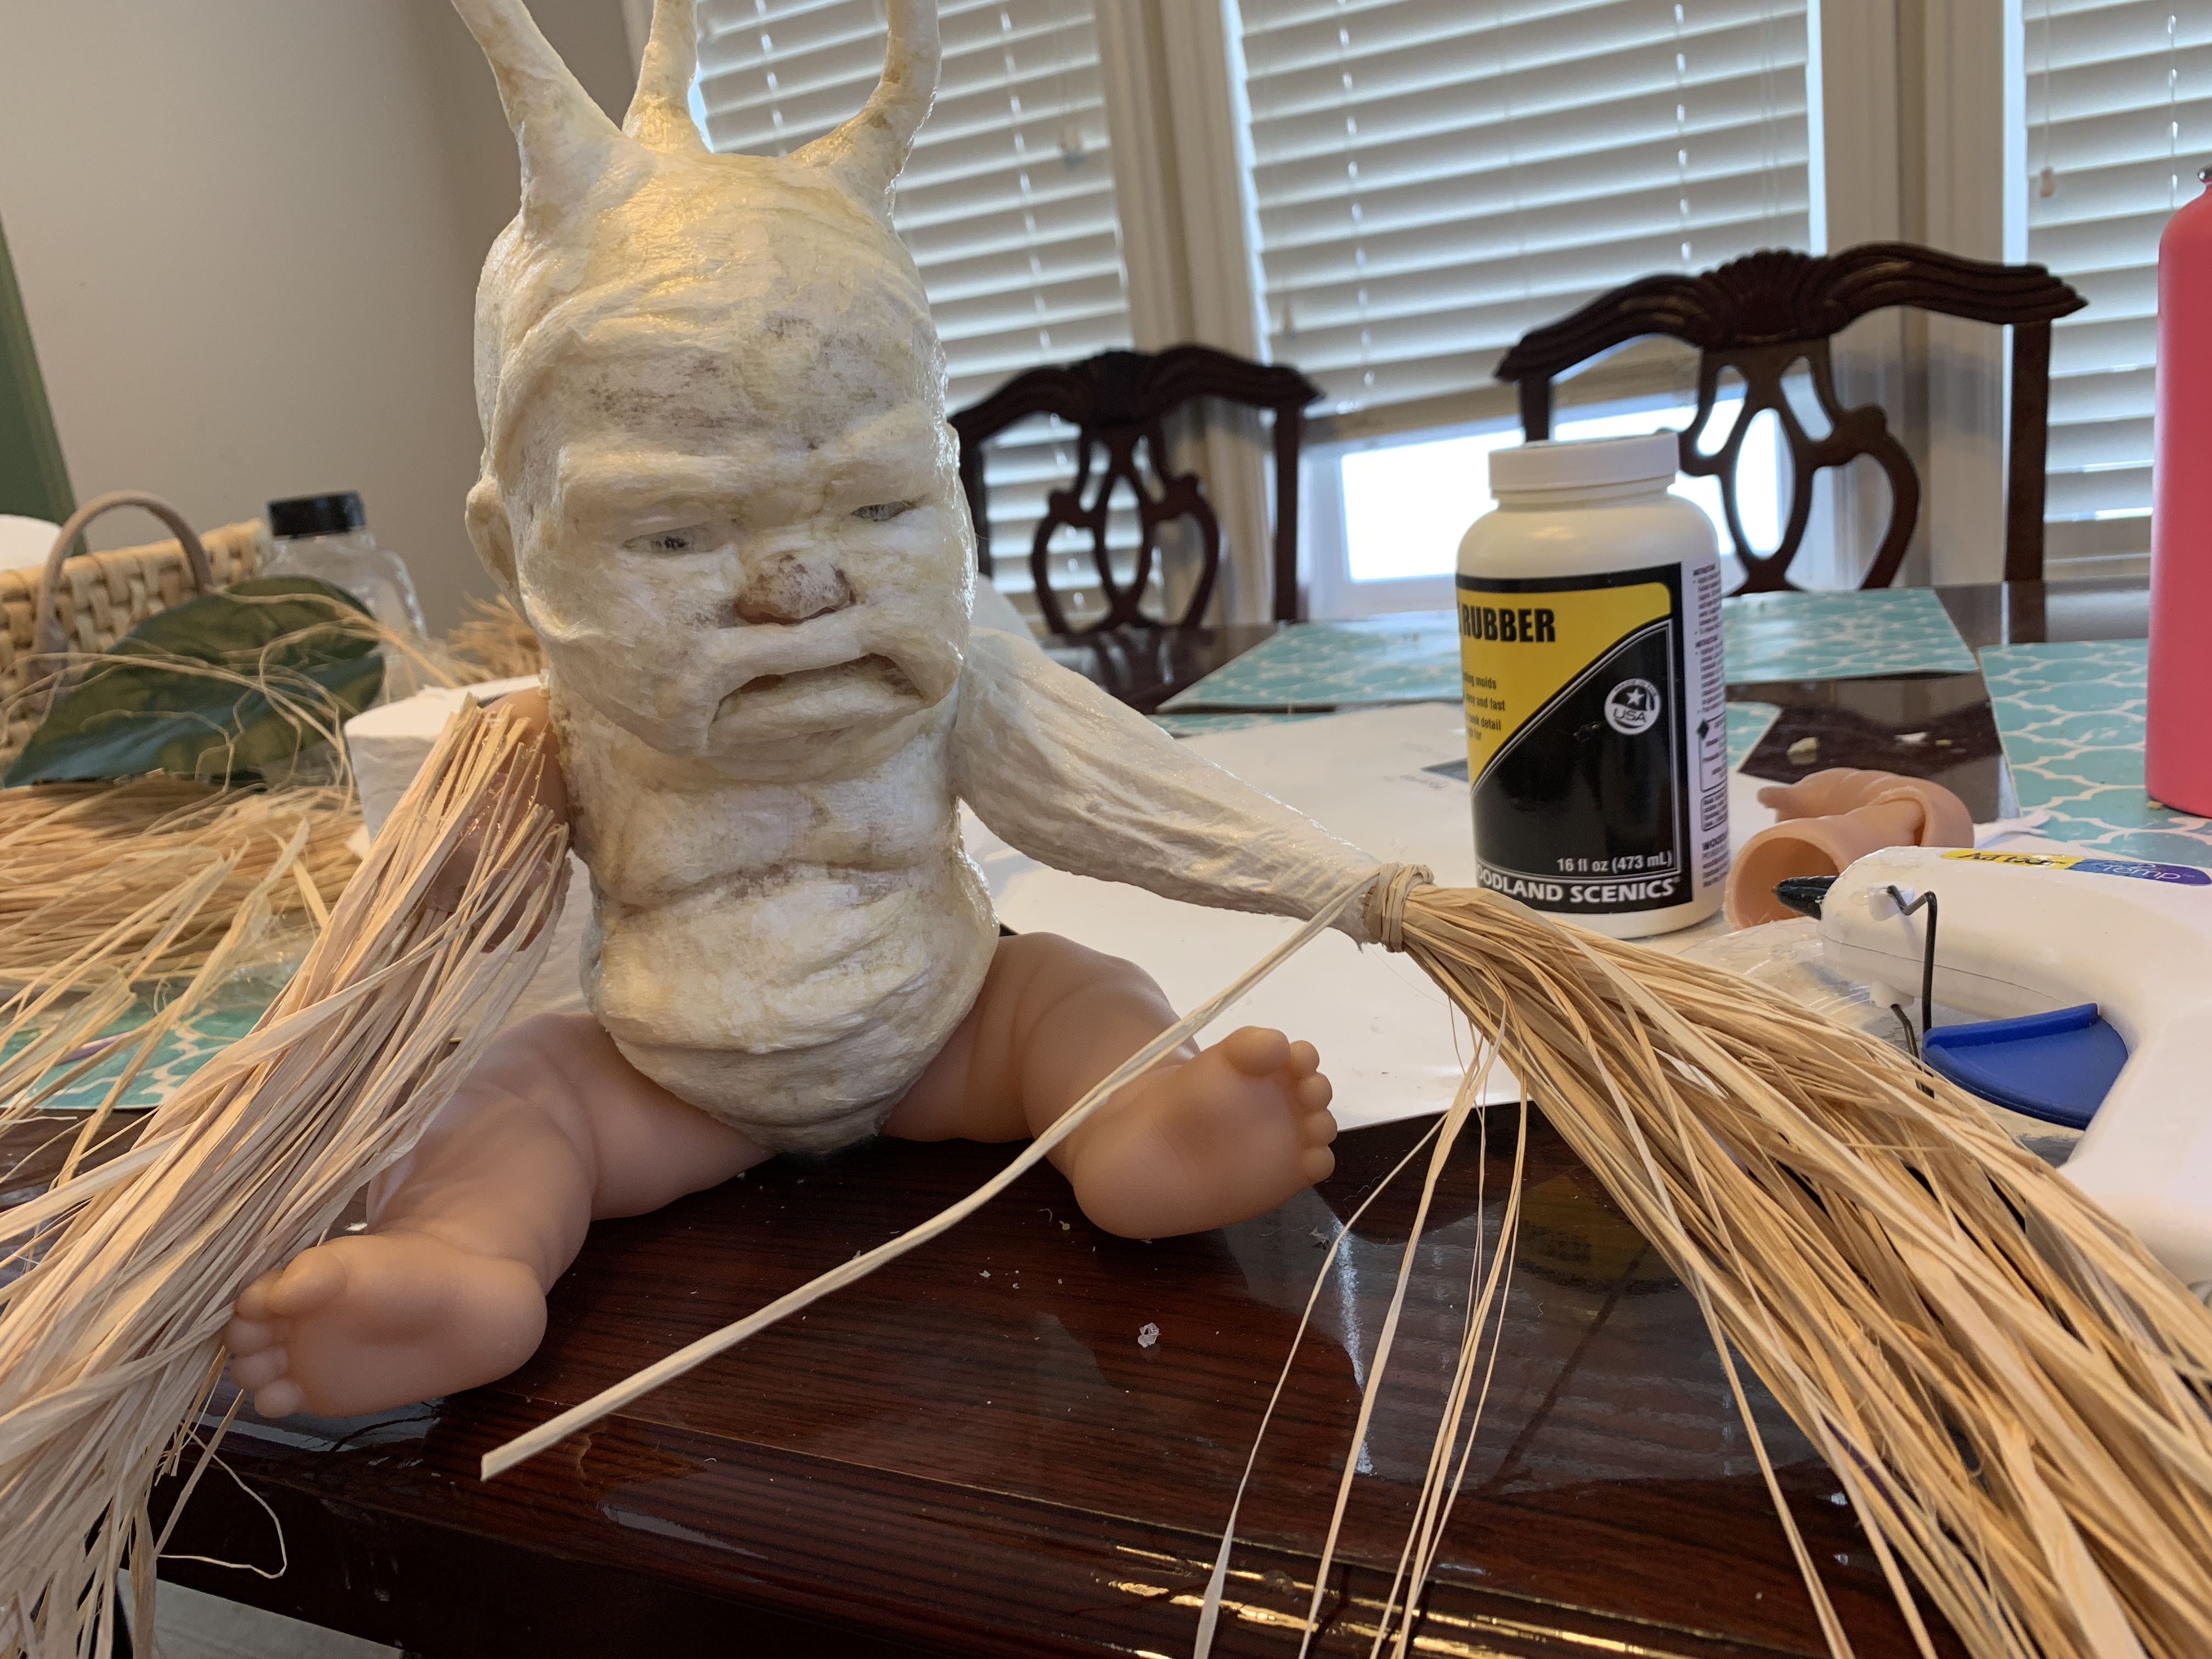
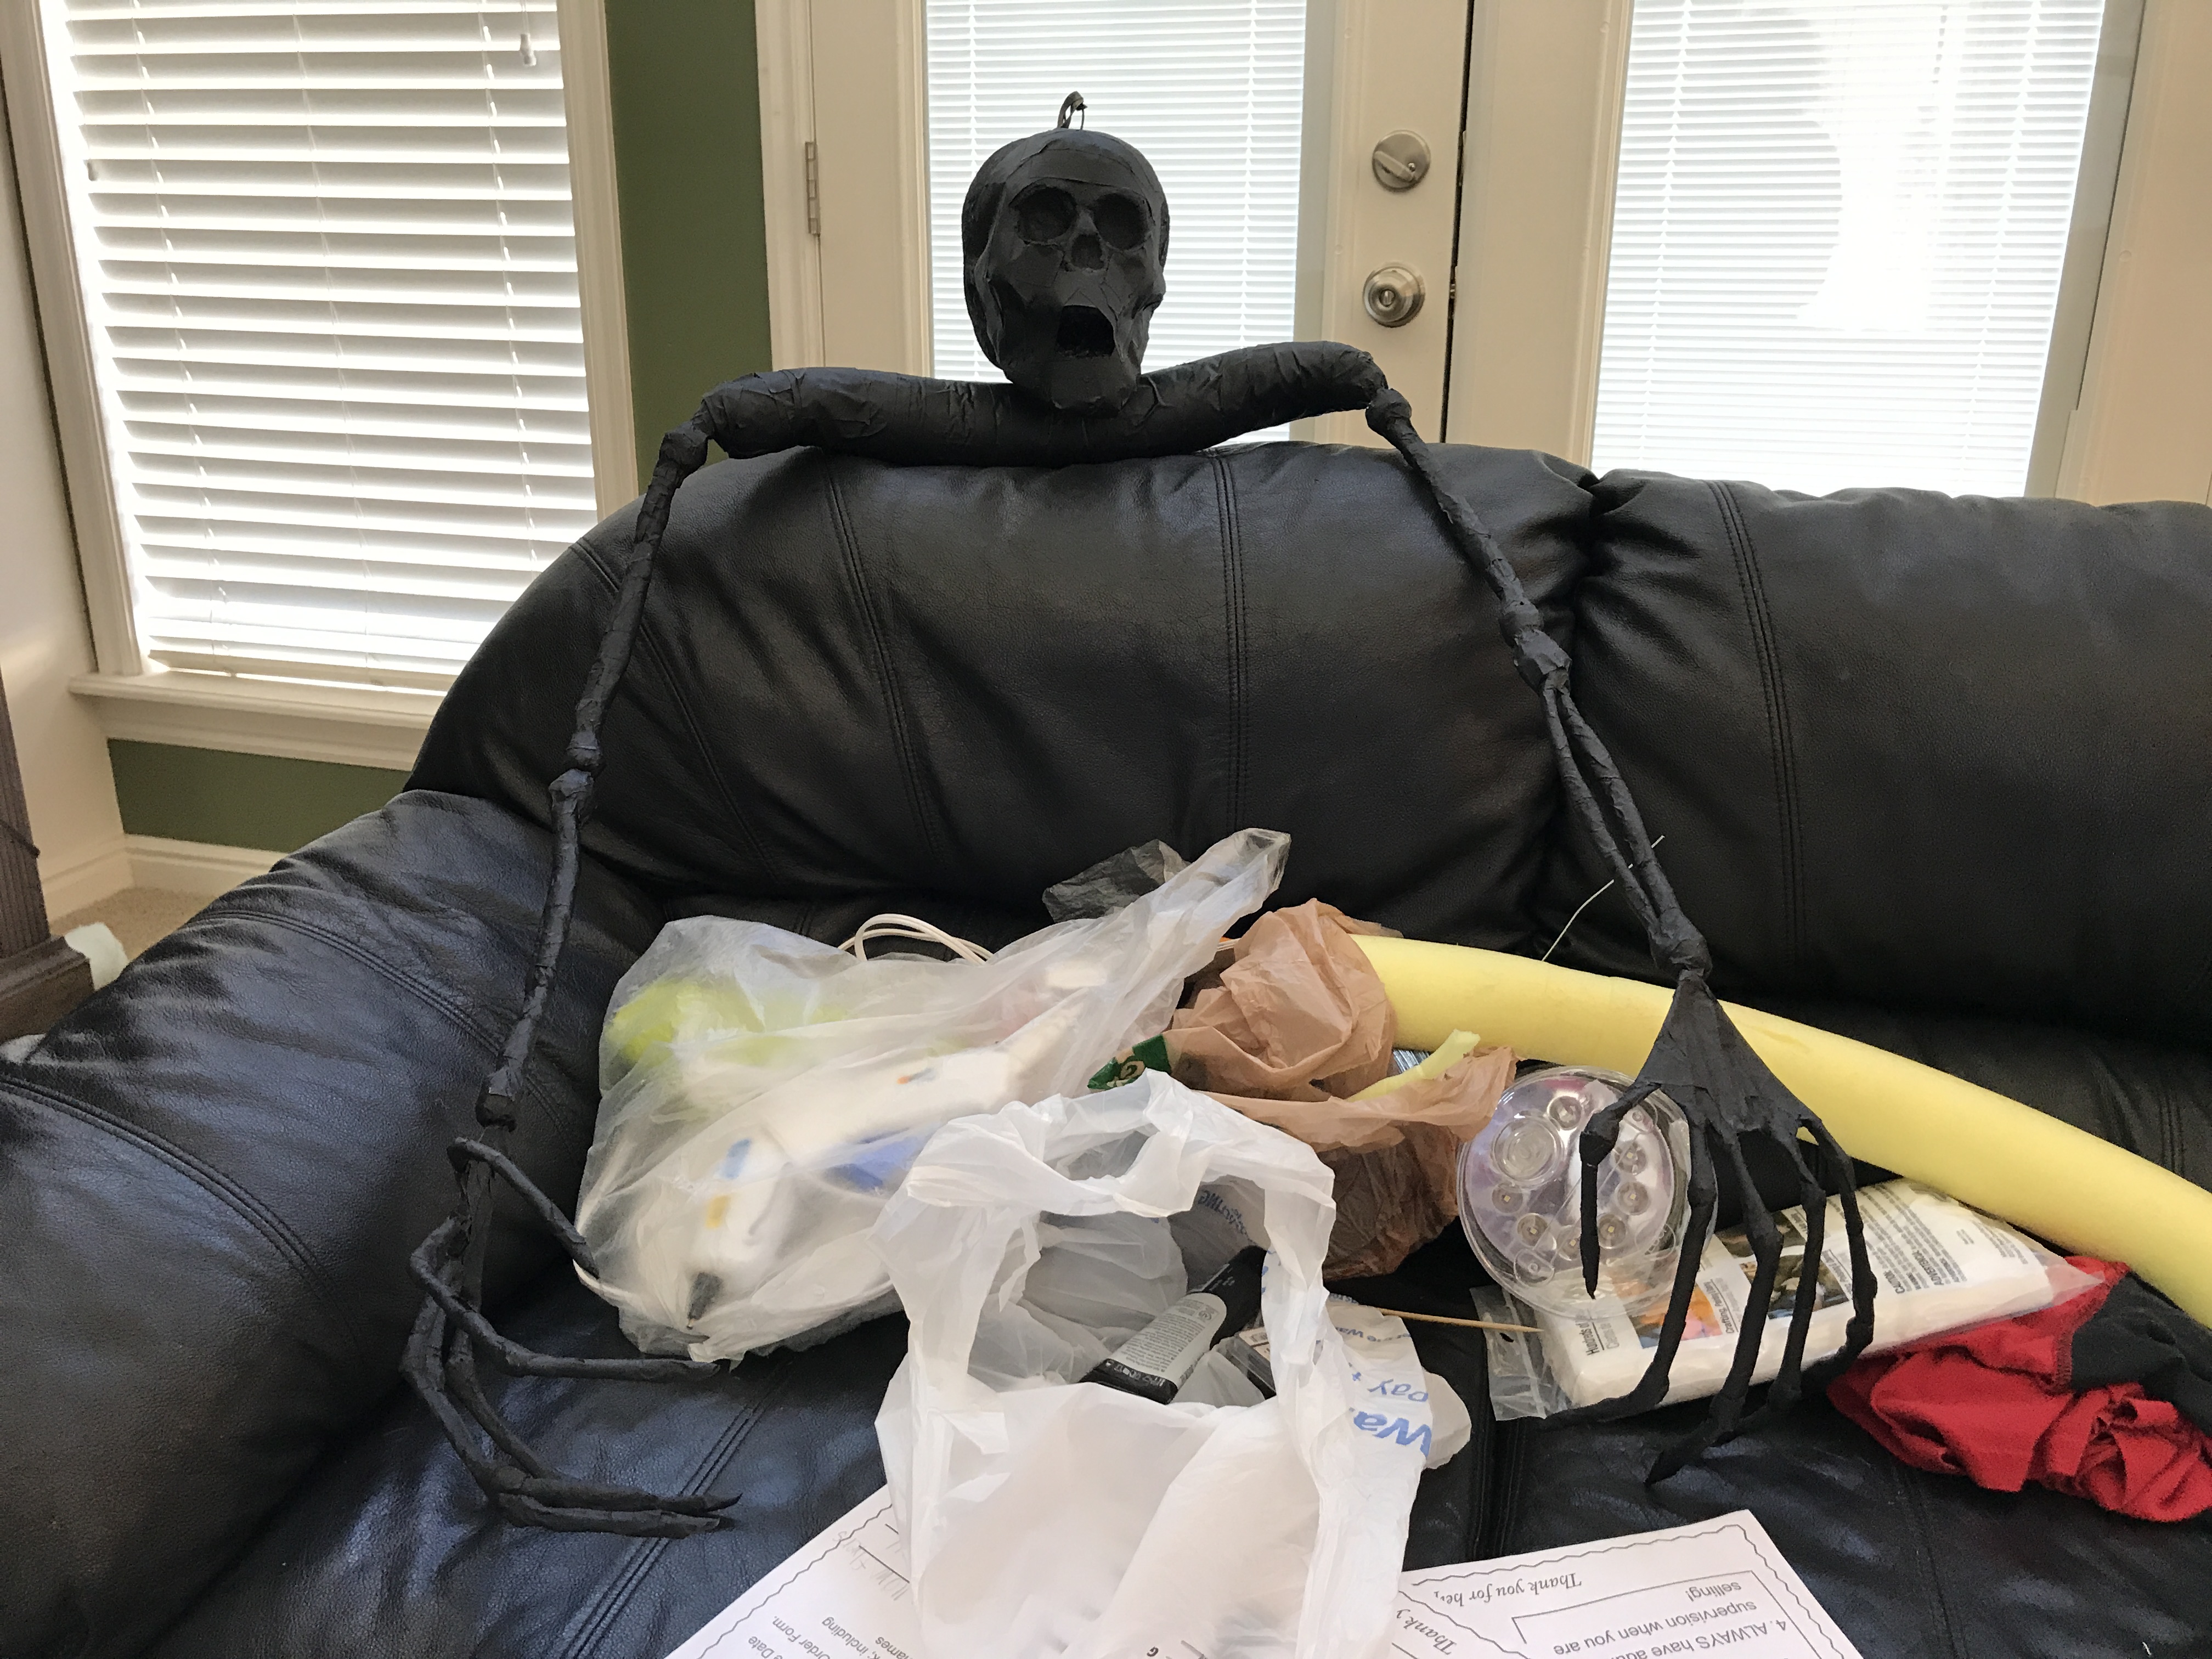
8) For the roots I cut long pieces of raffia. I bundled the raffia up and glued it inside the armholes and then I glued another layer around the outside of the arm. After gluing it all on, I gathered all of the raffia and tied it where I wanted the latex to end. I then used the same tissue and latex technique to cover the arm, creating a thick root. You can see on the right arm how the raffia is still tied off at the bottom of the latex.

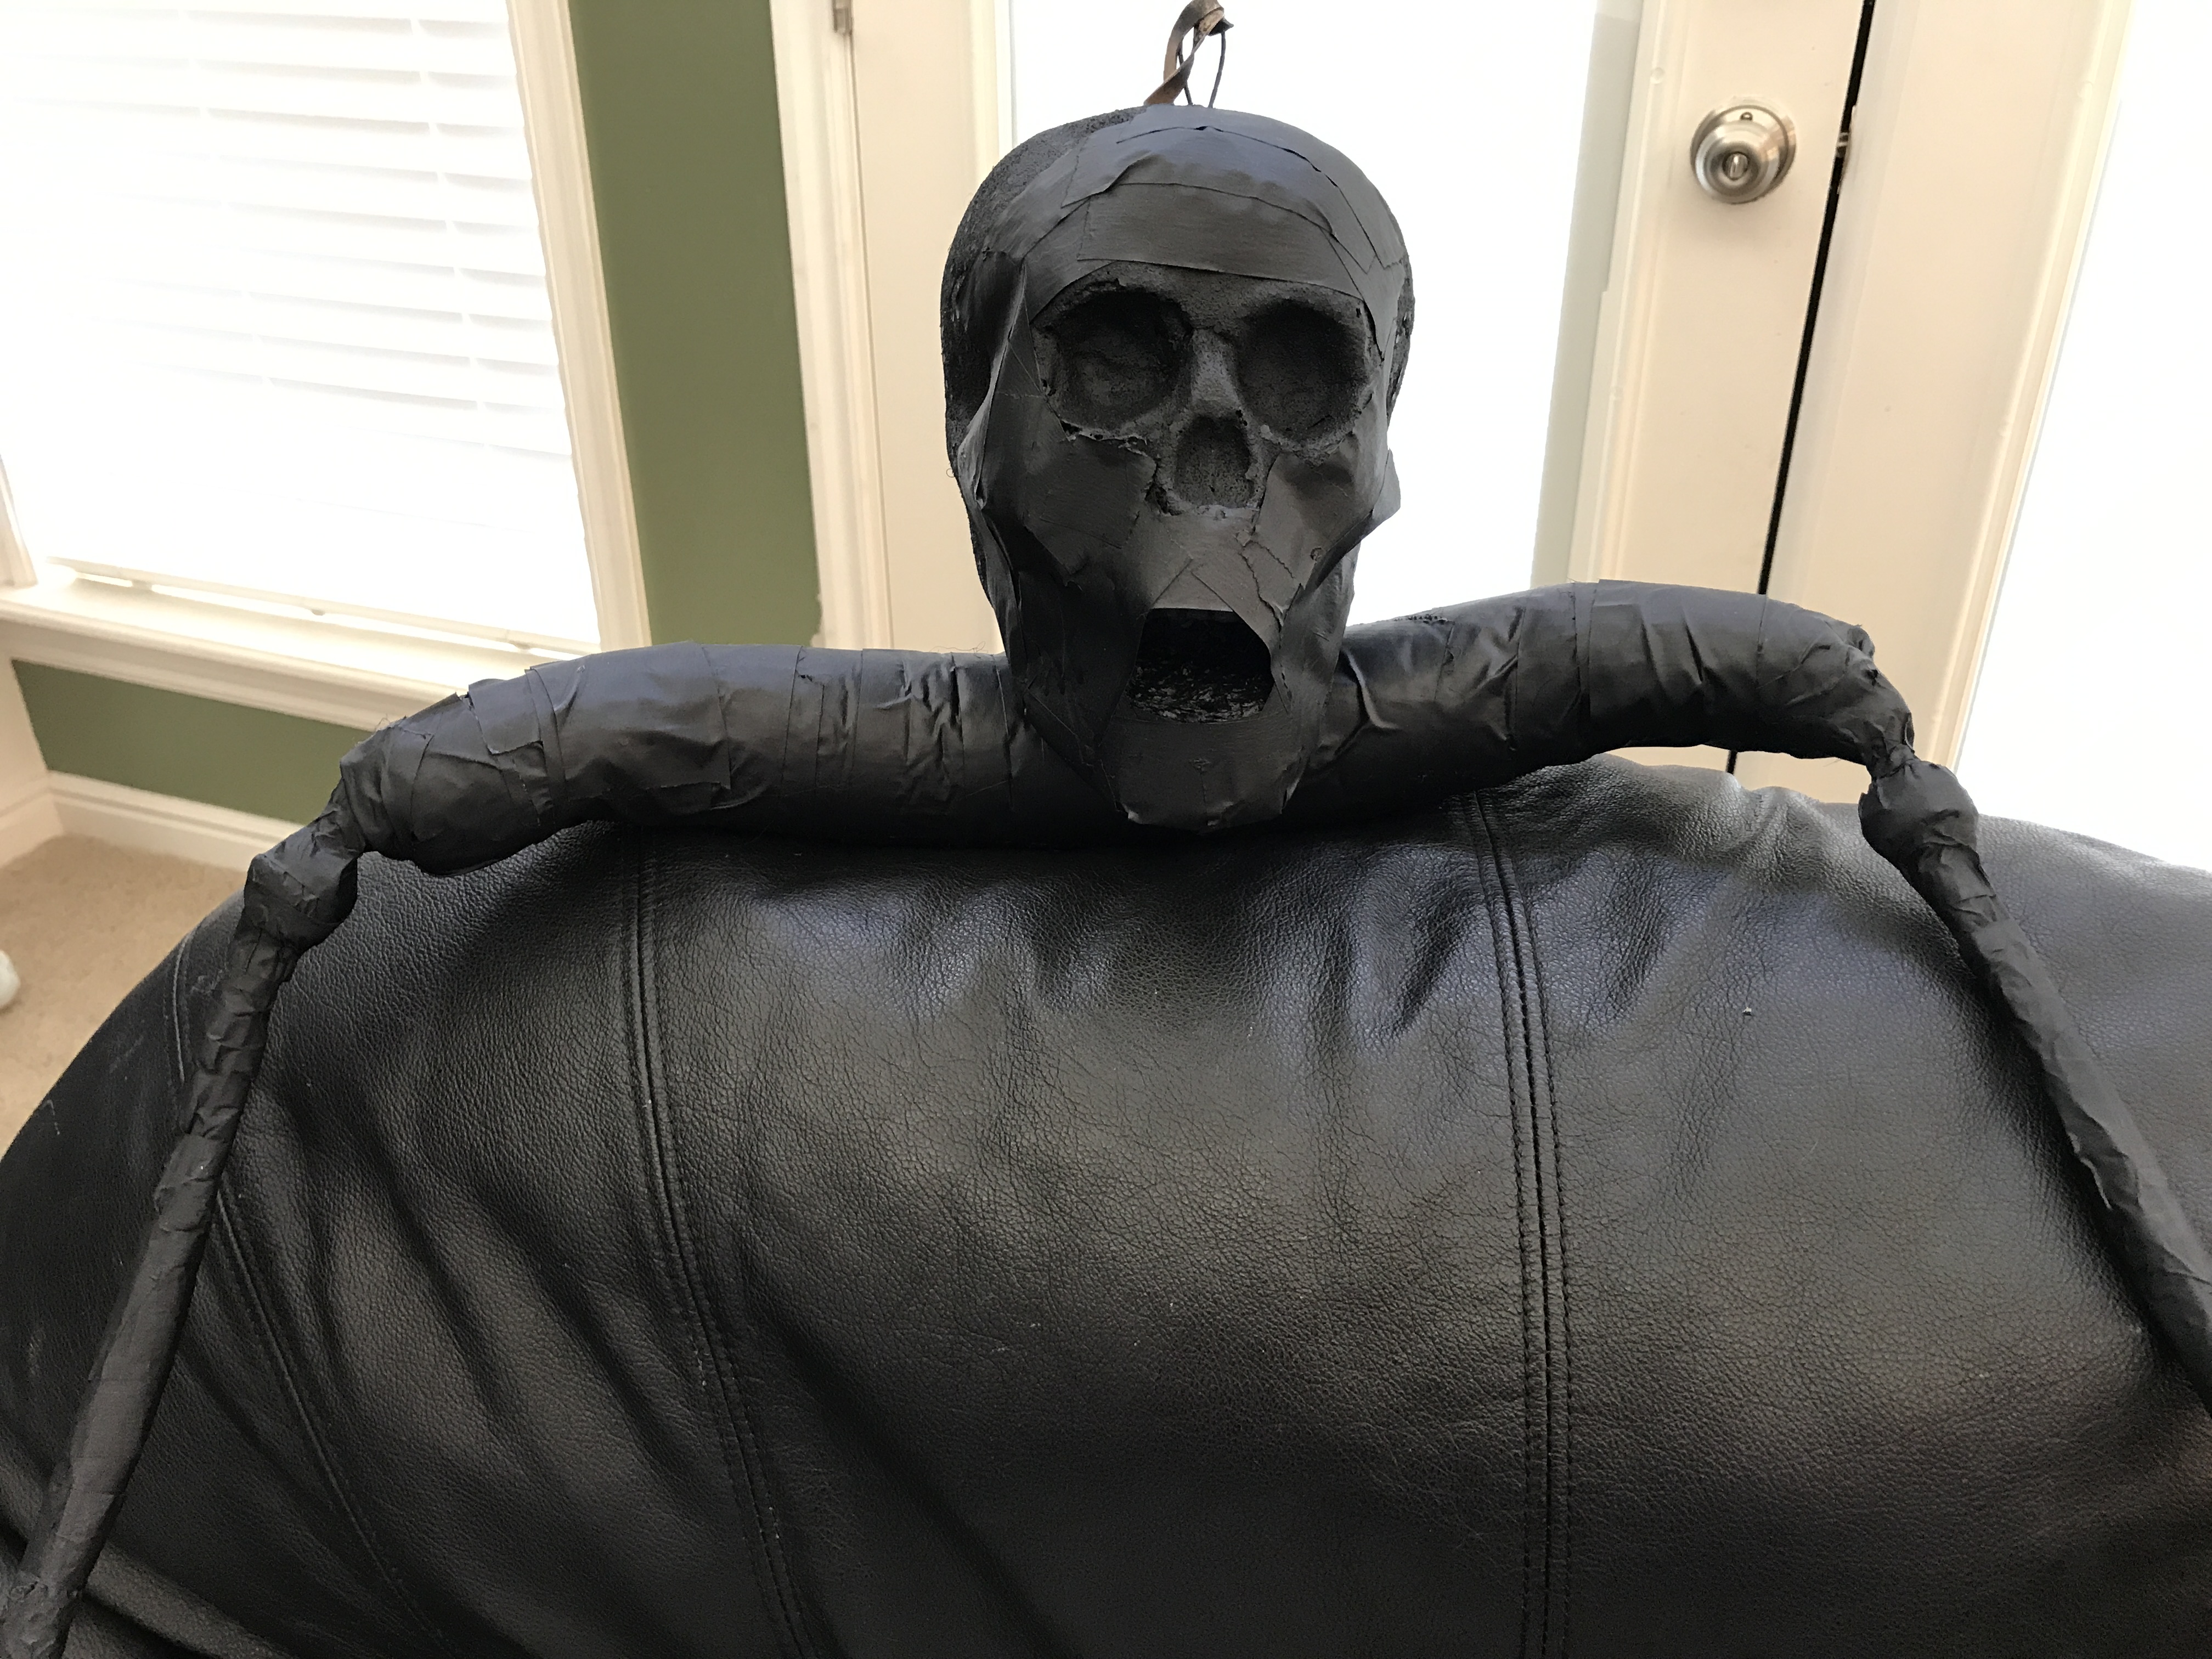
9) Once the latex had completely dried (make sure it’s a thick layer) I untied the piece of raffia at the bottom of the latex and then I trimmed all the loose raffia to the length I wanted.
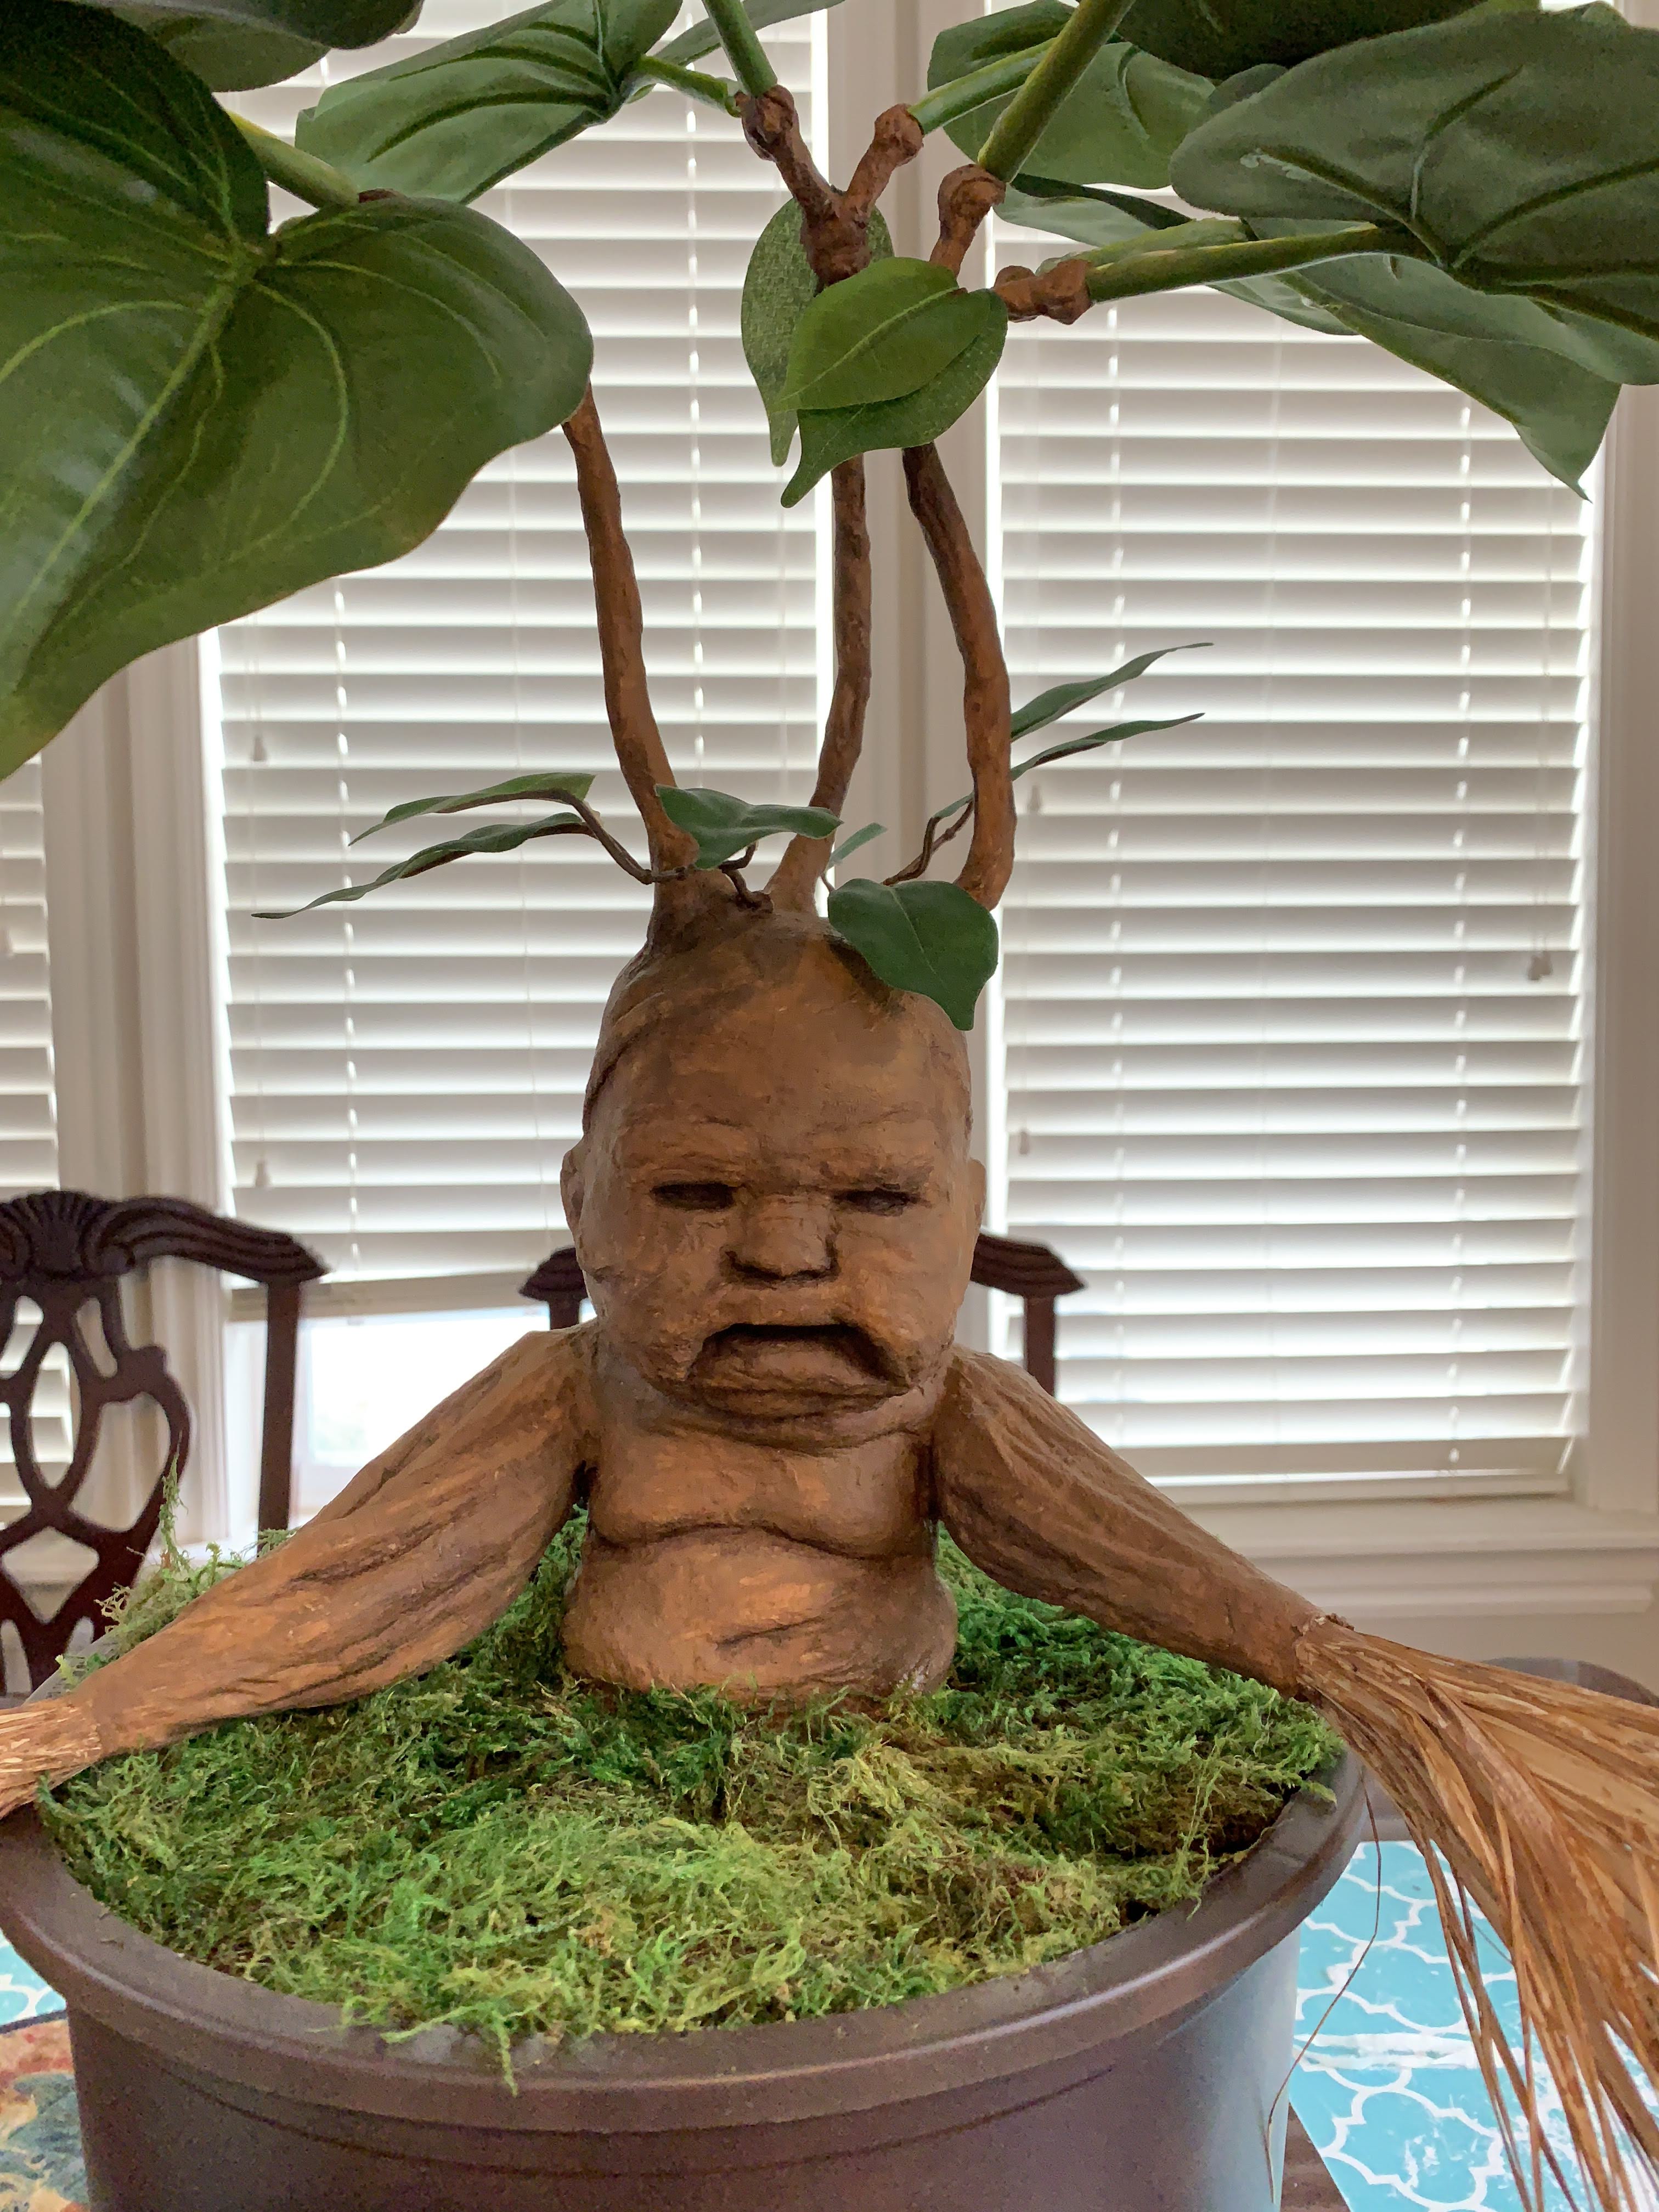
10) So this is where my “In the process” pictures end. After all of the latex had dried. I painted the whole thing in light brown acrylic paint. I then painted a darker brown over the top; wiping away some of it so the lighter showed through. Then, using a small brush I added more dark paint to places like inside the mouth and eyes. I also wiped the paintbrush quickly over the raffia, letting it fade to the ends so that it blended with everything else.
The leaves were trimmed off their stems from a bunch I found at the craft store. I just hot glued the center of the leaf to the exposed wire on the stems. For the short leaves, I glued them on and then painted over the dried glue.
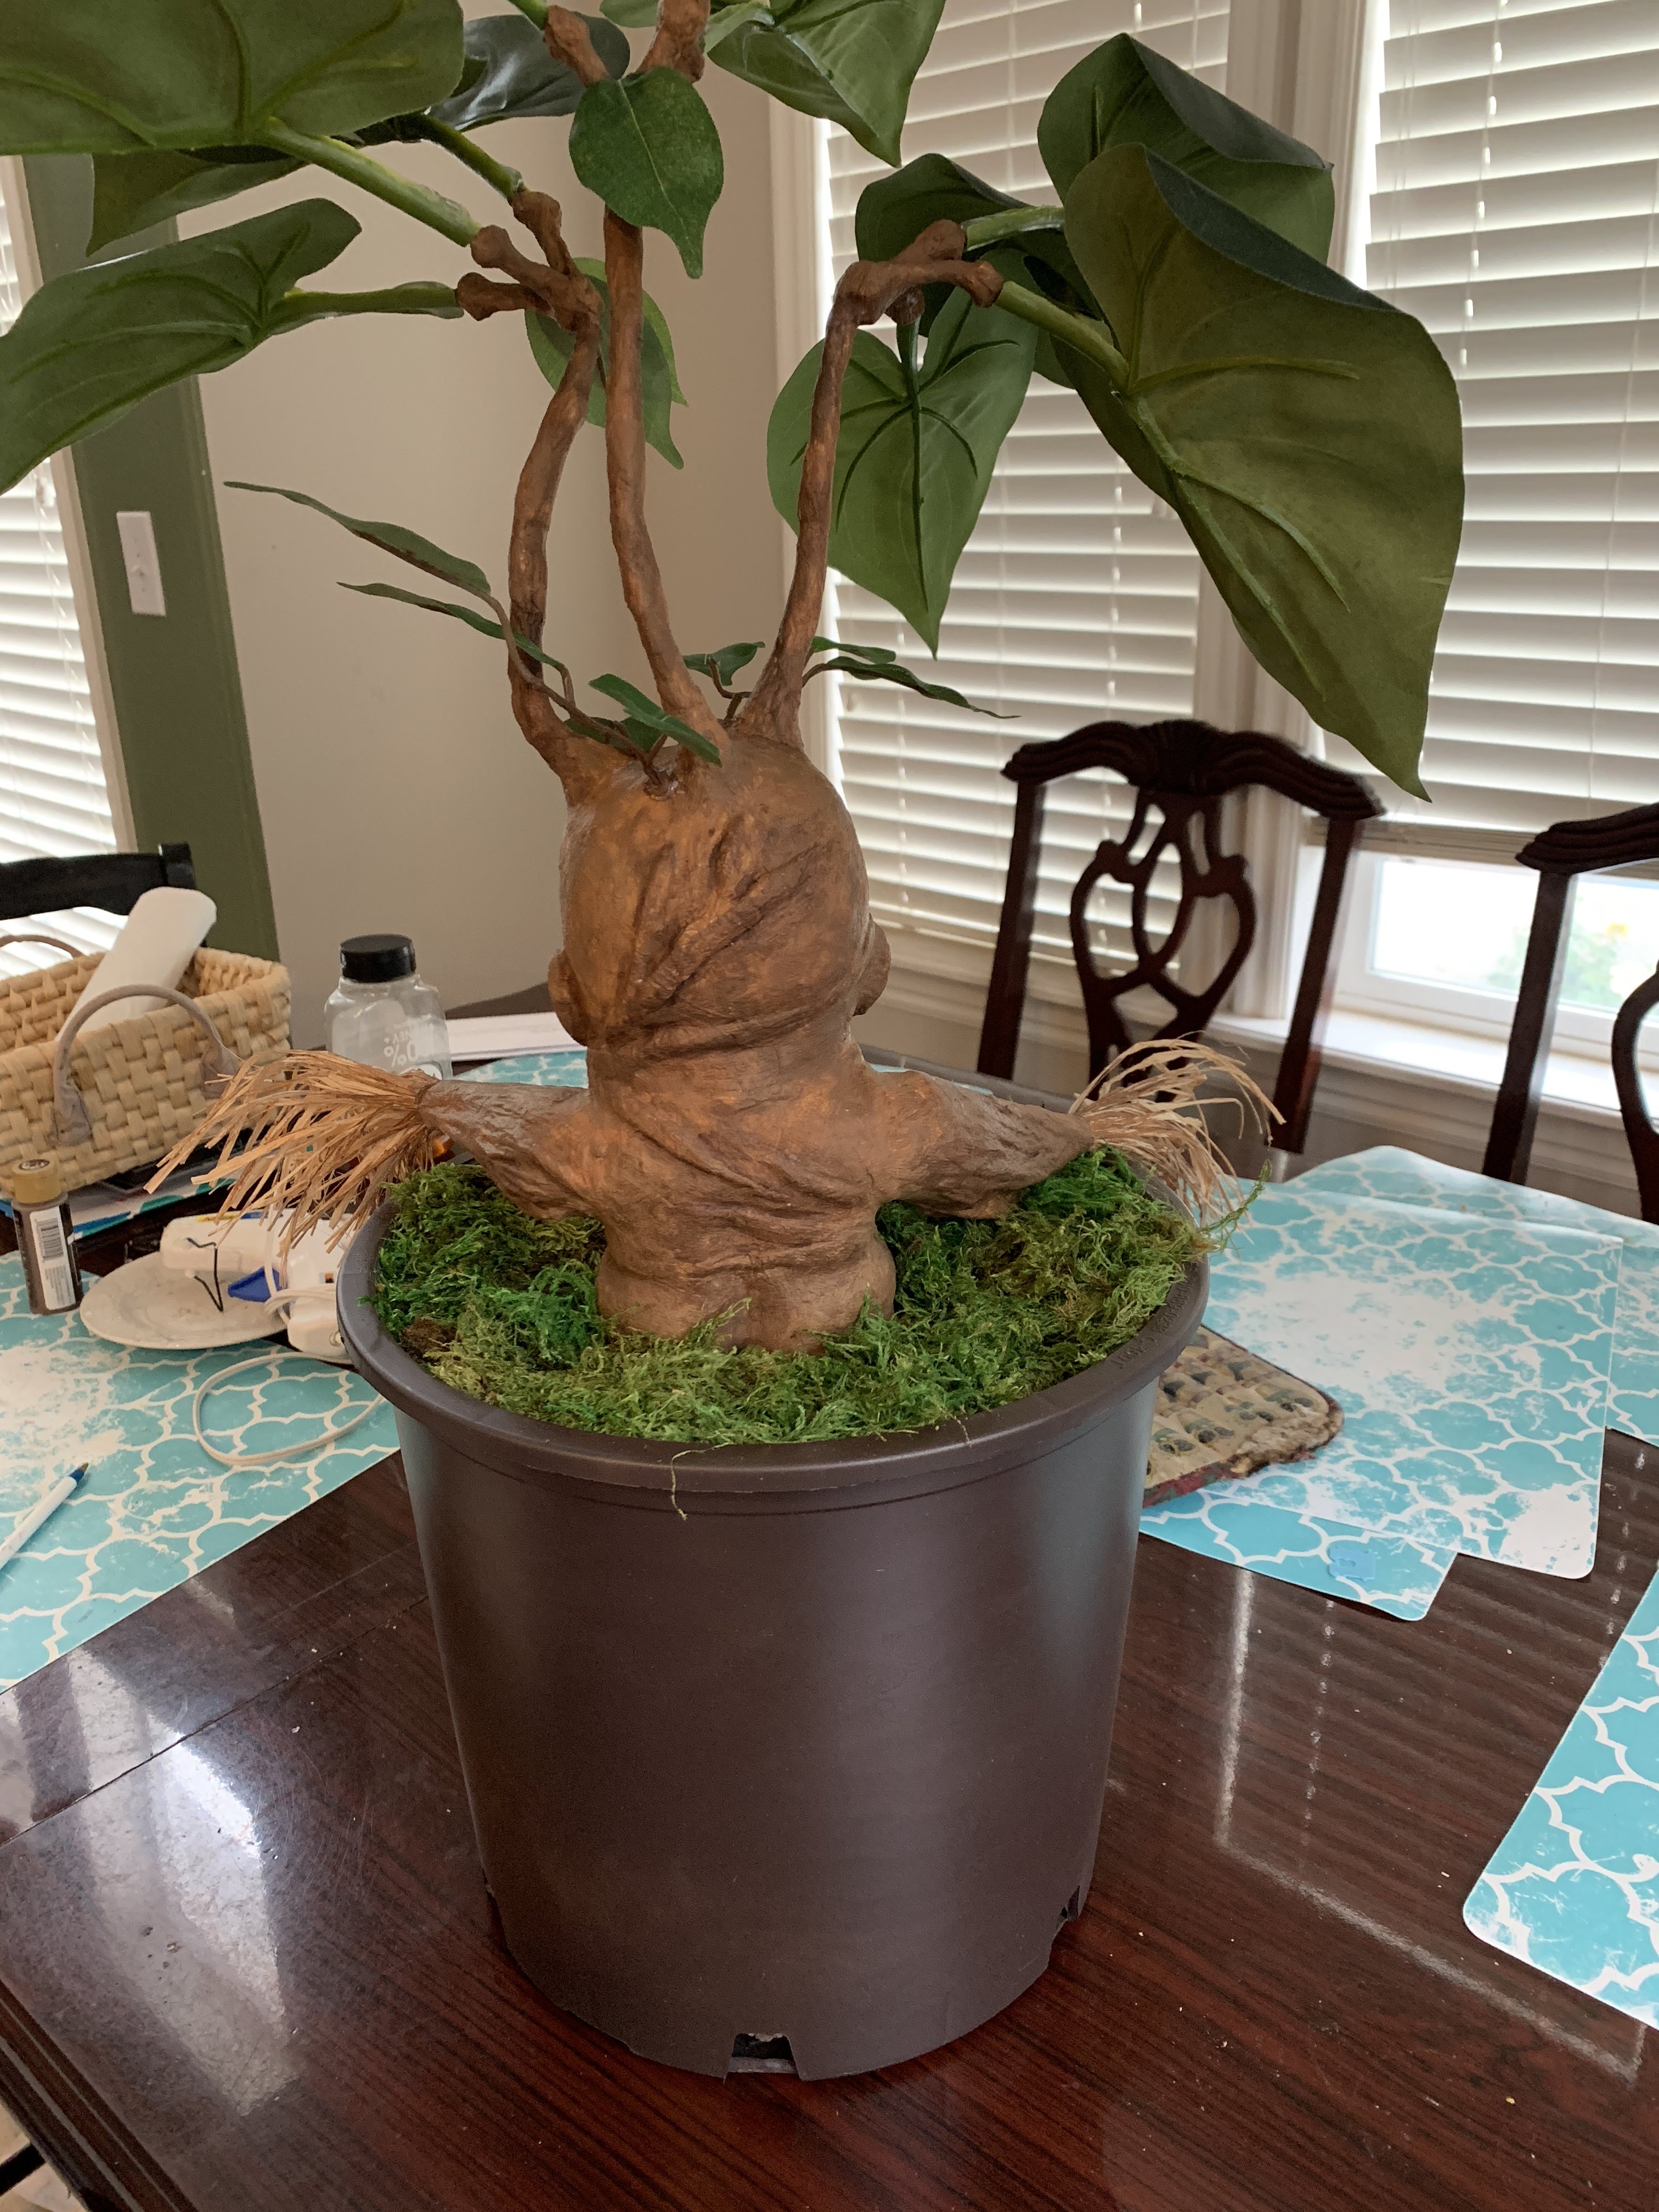
11) Here’s the view from the back. You can see all of the vines across his back and head. My 9yr olds favorite part is the little butt crack peeking out of the moss.
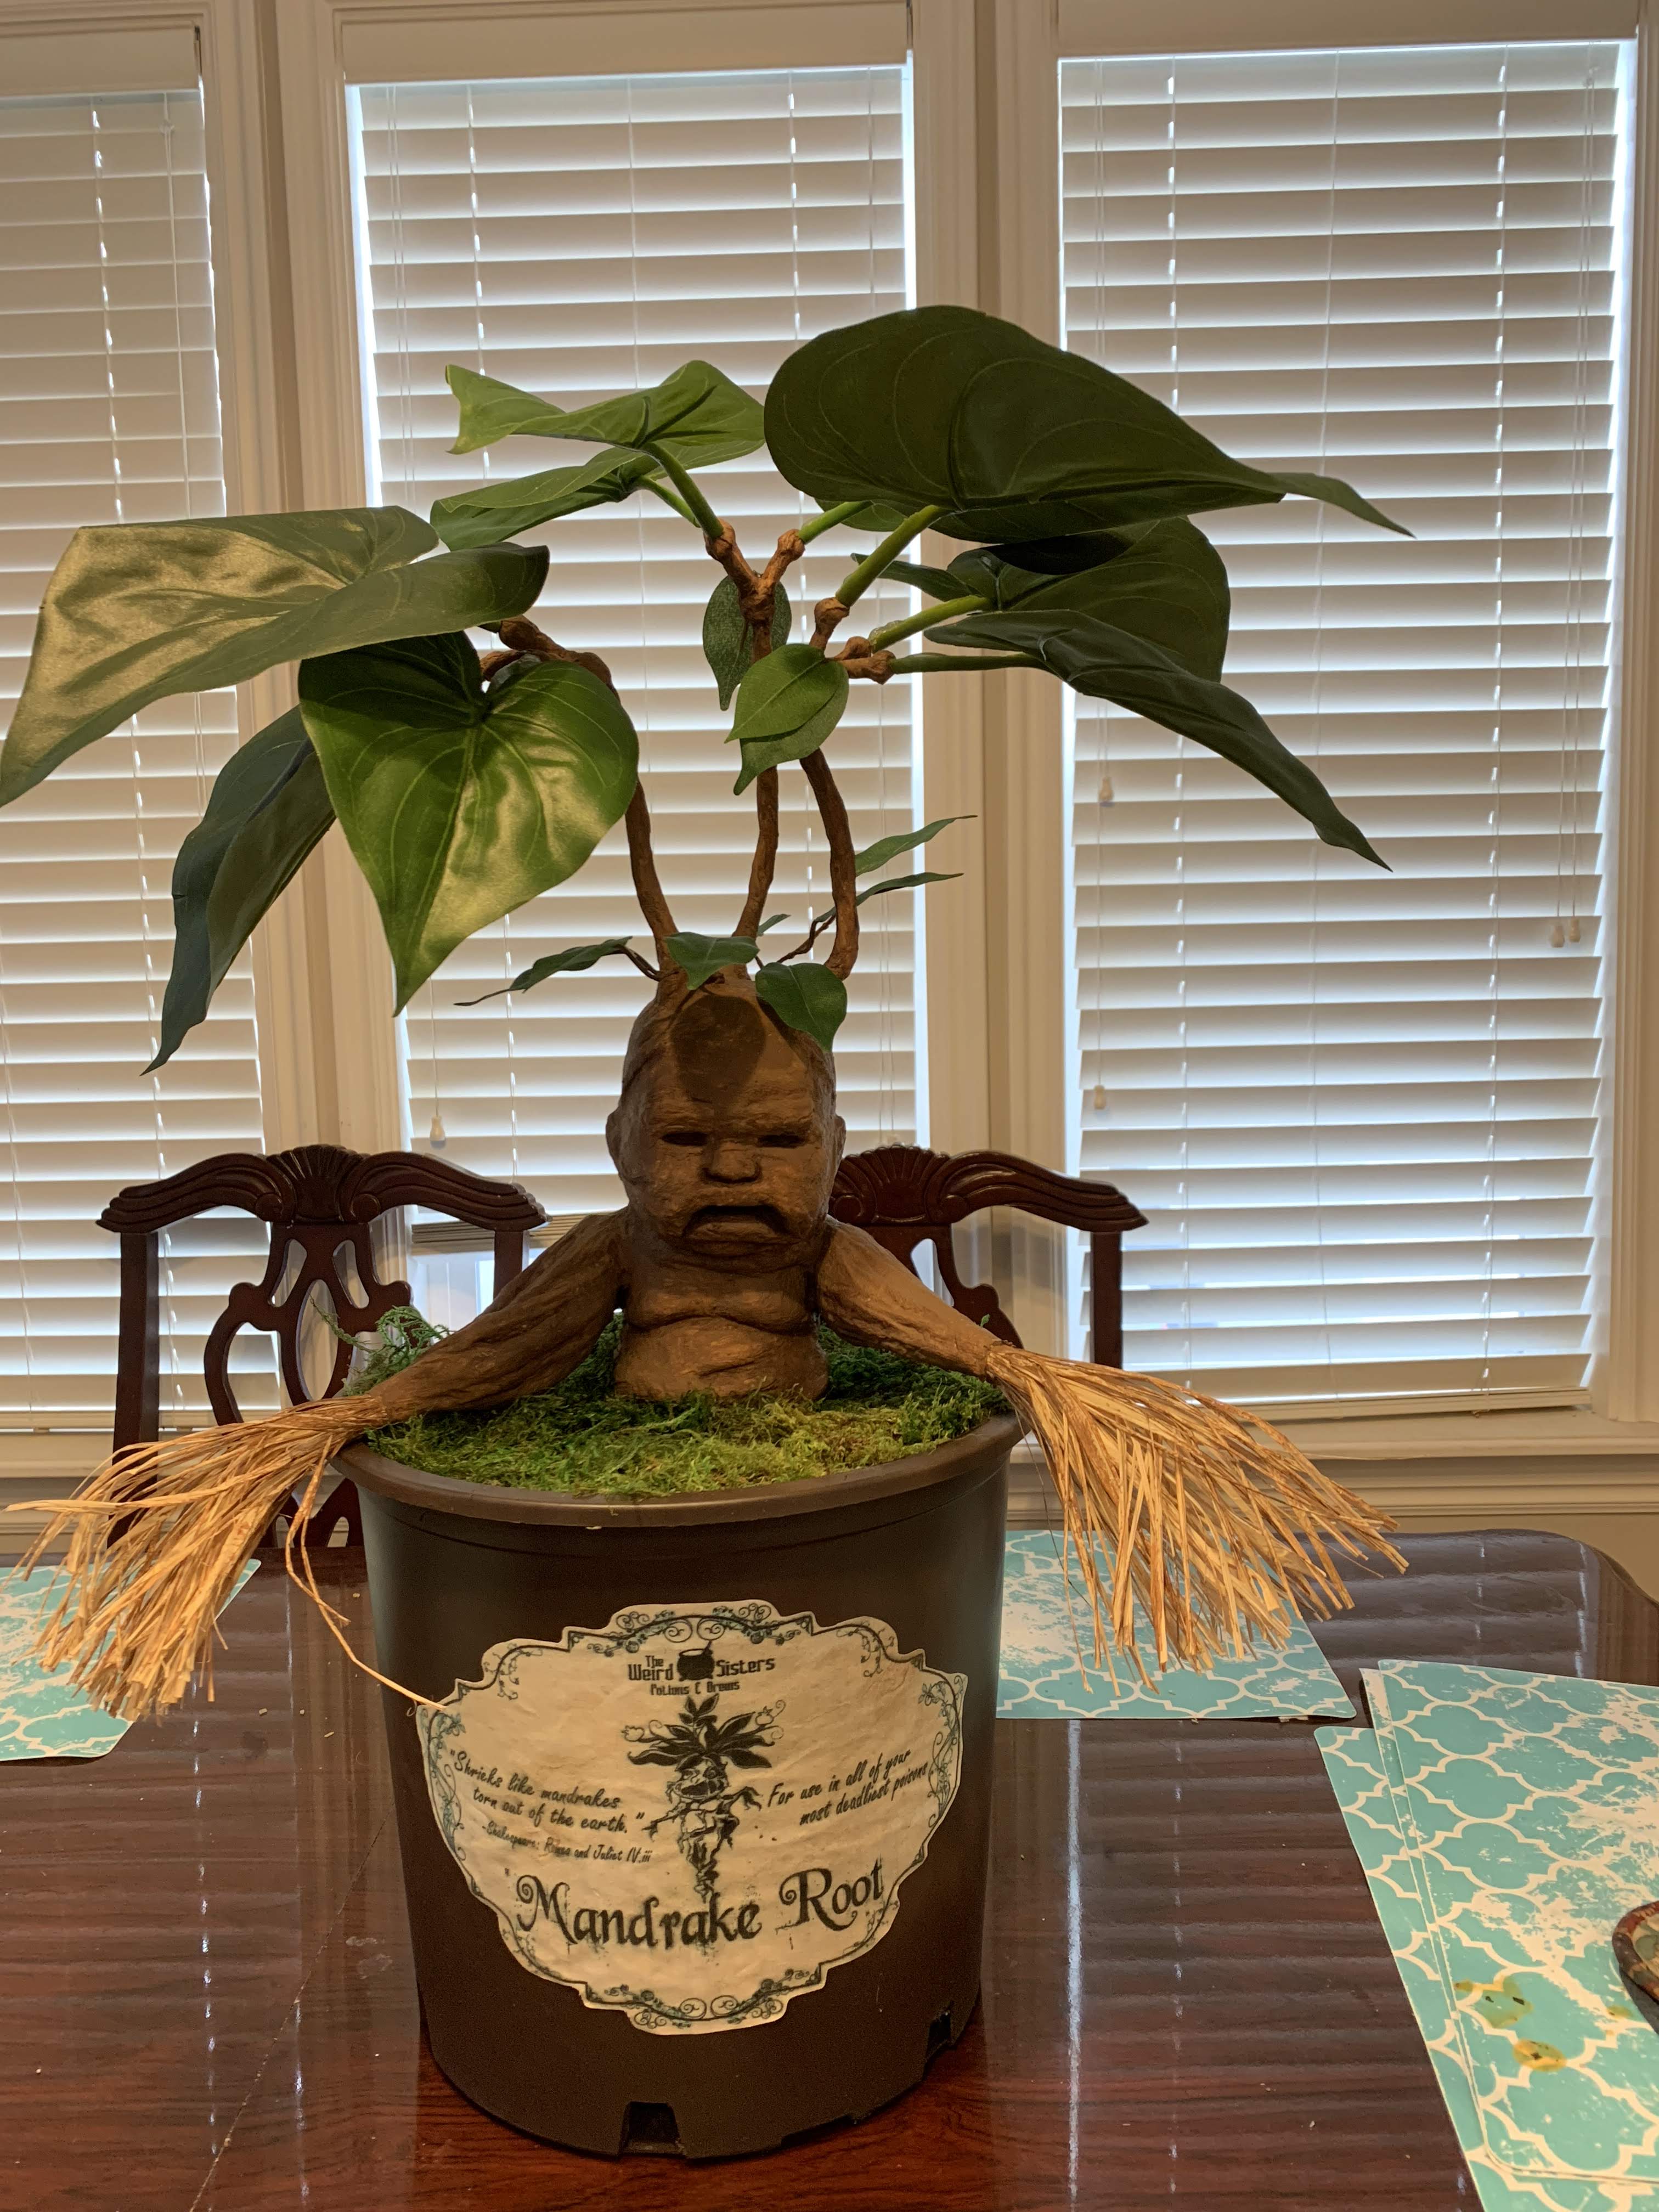
12) And here’s the finished project. I found the label online. It was sized for a potion bottle but with a little photoshop magic, I was able to enlarge it. Since I don’t drink coffee, I stained it with brewed Crio Bru (ground cocoa beans) and then I attached it with spray adhesive.
The mandrake is sitting inside a cardboard tube that I glued to the center of the pot and then I cut out a piece of cardboard to fit around the doll and glued at “dirt level”. Using spray adhesive, I attached the moss and then sighed in relief that this project was finally over.